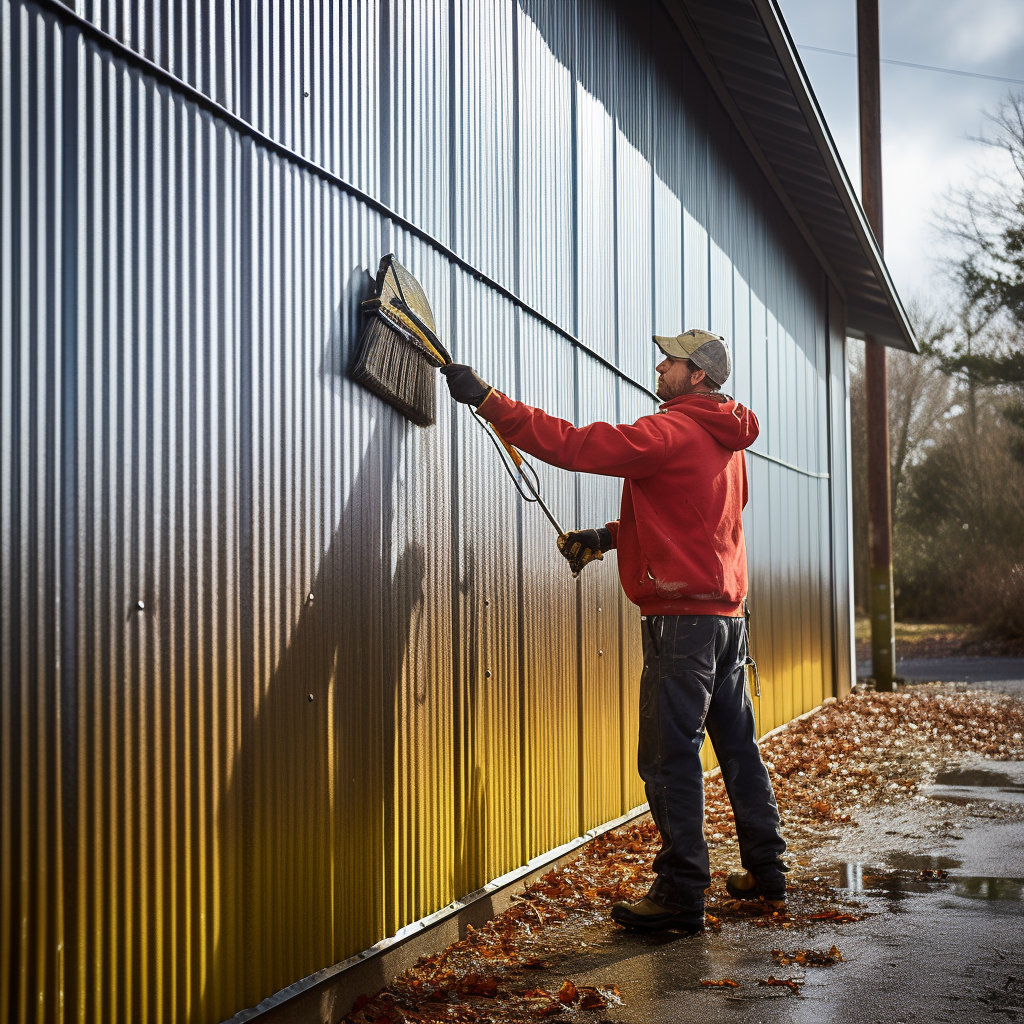
Aluminum siding has long been a favored choice for homeowners and businesses alike, primarily due to its aesthetic appeal and impeccable finish. Its popularity can also be attributed to its durability and ease of installation when done correctly. However, like all exterior finishes, aluminum siding is not immune to the effects of time and the elements. Over the years, it may require maintenance, including the removal and reinstallation of damaged sections.
Essential Tools for Aluminum Siding Maintenance
Before diving into the removal and reinstallation process, it’s crucial to be equipped with the right tools. Here’s a list of essential tools you’ll need:
- Hammer: For loosening and removing nails.
- Prybar: Useful for prying off the siding without causing damage.
- Siding-removal tool: Specifically designed to help detach the siding.
- Carpenter’s square: Ensures precision cuts and measurements.
- Tape measure: For accurate measurements.
- Work gloves: To protect your hands from potential injuries.
- Silicone, tin snips, and aluminum roofing nails (1 ½ inches): Additional requirements for the reinstallation process.
Step-by-Step Process for Removing and Reinstalling
1. Identifying the Damaged Section
Start by identifying the section of the siding that needs removal. Locate the edges of this section and use the siding-removal tool to slide beneath the bottom edge of the siding piece. This tool is essential for determining which part needs to be pried off.
2. Detaching the Siding
Once you’ve identified the damaged section, wiggle the tool side to side until the interlocking parts separate. Continue this process along the entire length of the piece. Following this, gently separate the bottom edge of the piece you wish to replace from the upper lip of the section below it.
3. Removing Nails and the Damaged Section
Place wooden scraps beneath the top edge of the siding piece to reveal the nail ridge of the detached section. This will keep the upper siding piece elevated and out of the way. Using the pry bar and hammer, carefully loosen the nails holding the siding strip in place. Once all nails are removed, you can then remove the damaged aluminum siding piece.
4. Preparing the Replacement Section
If a replacement strip is required, ensure it fits the gap perfectly. Measure and mark the new piece, ensuring it’s at least 3/4 inches longer than the gap it’s meant to fill. Use tin snips for cutting the marked section.
5. Installing the New Siding Piece
Slide the new siding piece into place, using the existing sections as reference points. Align the nail ridge of the new piece with the adjacent sections and hammer in the nails. Once secured, remove the wooden scraps used for elevation.
6. Reconnecting Interlocking Parts
The final step involves using the siding tool to reconnect the interlocking parts. Hook the upper edge of the piece below the bottom edge of your new section. Repeat this process for the bottom edge of the piece above your new siding section.
A Few Key Points to Remember
- Aluminum siding pieces interlock, with each piece’s upper edge featuring a nail ridge that also acts as a locking mechanism for the section above.
- Always adhere to the nail placement guidelines provided by the siding manufacturer. If unsure, a general rule of thumb is to place nails a minimum of 4 inches apart.
- It’s often more practical to replace only the damaged sections rather than the entire wall. If removing an entire wall becomes necessary, always start from the top and work your way down.
At KV Construction LLC, we understand the intricacies involved in maintaining and restoring the beauty of aluminum siding. As one of the leading siding contractors in Seattle, our team is equipped with the expertise and tools to ensure your siding looks as good as new. If you’re looking for reliable siders in Seattle WA, don’t hesitate to reach out to us. We’re here to help!
For any further queries or assistance with your siding needs, feel free to contact KV Construction LLC. Your trusted partner in all things siding.

