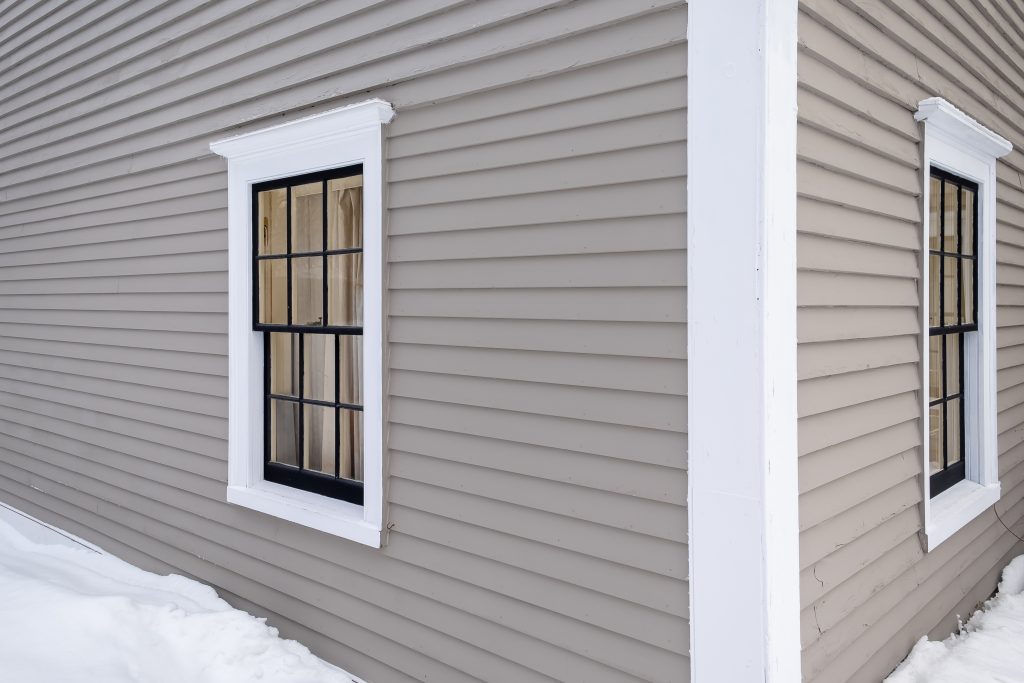
Vinyl siding is a durable and cost-effective solution that graces the exteriors of many homes. However, there comes a time when removal and replacement are necessary, whether due to damage or for an aesthetic upgrade. At KV Construction LLC, we specialize in ensuring that the process is done efficiently and effectively, maintaining the integrity of your home’s structure.
Understanding the Basics of Vinyl Siding Removal
Removing vinyl siding involves a careful process to avoid damage to the underlying materials. It requires precision and an understanding of the siding’s interlocking system. Each panel clips into the one below it, and unlocking these connections is the first step in the removal process.
Required Tools and Safety Measures
Before beginning, it’s essential to gather the right tools. You’ll need a siding removal tool, also known as a zip tool, a hammer, a pry bar, and gloves for protection. Safety goggles are also recommended to protect your eyes from debris.
Step 1: Locating the Starting Point
Identify the damaged section of siding that needs to be removed. Look for the last full siding panel and start from there. This approach minimizes the risk of breaking the interlocking tabs on the undamaged pieces.
Step 2: Unlocking the Siding Panels
Slide the siding removal tool beneath the bottom lip of the siding panel above the one you wish to remove. Gently pull down and out, releasing the panel from the one below it. This step should be done with care to prevent bending or breaking the siding.
Step 3: Removing Nails and Fasteners
Once the panels are unhooked, remove any nails or fasteners holding the siding in place. This step may require the use of a pry bar or hammer. Be sure to pull nails straight out to avoid damaging the wall.
Step 4: Detaching the Panel
After all fasteners are removed, the panel should come away easily. If resistance is felt, check for missed nails or fasteners. It’s crucial to avoid using excessive force, which could harm the siding or wall.
Step 5: Continuing the Process
Repeat the above steps for each panel until all the necessary sections of siding are removed. Always work from top to bottom to utilize gravity and avoid unnecessary lifting or strain.
Disposal and Recycling
Once the siding is removed, proper disposal is important. Vinyl siding can often be recycled, reducing the environmental impact of your renovation project.
Final Inspection and Preparation for New Siding
After removal, inspect the wall for any damage or areas that may need repair before installing new siding. This step is vital to ensure a smooth surface for the new installation.
Choosing a Professional for Your Siding Needs
While DIY removal is possible, hiring professional siders in Seattle WA, like KV Construction LLC, ensures that the job is done with expertise and attention to detail. Our team has the experience to handle any complications that may arise during the removal process.
Why Choose KV Construction LLC?
As one of the leading siding contractors in Seattle, we pride ourselves on delivering top-notch service. Our skilled team is equipped to manage projects of any size, ensuring that your home’s exterior is in the best hands.
Conclusion
Removing vinyl siding is a task that requires patience, the right tools, and a methodical approach. Whether you’re preparing for a new installation or repairing damage, it’s a process that can significantly impact the appearance and value of your home. For professional siding install in Seattle, trust KV Construction LLC to provide quality service that stands the test of time.

