Is your home in need of a facelift? Fiber cement siding is a game-changer, offering durability, low maintenance, and stunning aesthetics. With the right guidance, even DIY enthusiasts can get professional results. In this comprehensive guide, we’ll walk you through the step-by-step process of installing fiber cement siding, ensuring your home looks beautiful and withstands the test of time.
Short Summary
Prepare for fiber cement siding installation by removing existing siding, transferring wall stud locations and selecting the appropriate tools & materials.
Cut boards safely with a circular saw or chop saw and seal cut ends with latex paint.
Paint 100% acrylic exterior paint using a brush/roller designed for masonry surfaces before installing flashing behind butt joints to ensure watertight seal.
Preparing for Fiber Cement Siding Installation
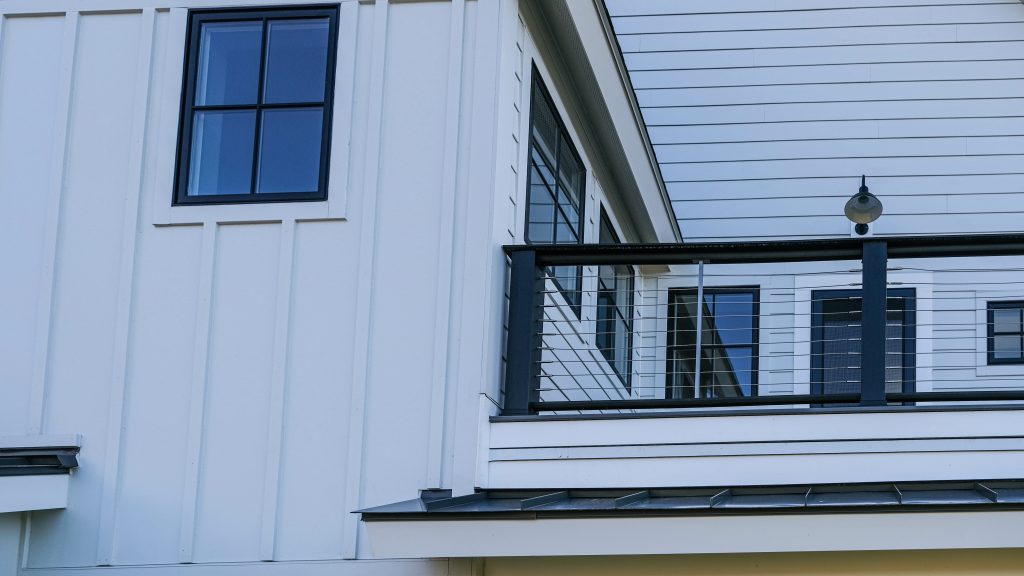
A solid foundation is key to a successful fiber cement siding installation. Proper preparation ensures that your new siding is securely attached and lasts for years to come.
This process involves removing old siding, transferring wall stud locations, and selecting the right tools and materials.
Removing Old Siding
Before you can install your fiber cement siding, you’ll need to remove any existing siding from your home. Start at the top and work your way down, using a vinyl siding removal tool (also called a zip tool), a pry bar, a hammer, and a utility knife.
Remove any trim pieces as well, and don’t forget to staple building paper to the wall sheathing, marking the stud locations on the soffit and foundation where they won’t be hidden by the building paper.
Transferring Wall Stud Locations
Once your wall is prepped, it’s time to transfer the wall stud locations. A stud finder is the most effective tool for locating wall studs. We have found the studs. Let’s mark their locations on the house wrap with chalk lines. This will make it easier to find them again in case of any future needs. This will ensure accuracy when nailing and placing siding joints.
Selecting Tools and Materials
As with any DIY project, having the right tools and materials is crucial. For fiber cement siding installation, you’ll need shears, circular or power miter saws, jigsaws, fiber cement shears and attachments, plank and trim cutters, miters and saws, fiber cement blades, hand snips and shears, fiber cement notchers, and nail cutters.
You’ll also need siding gauges, a fiber cement circular saw blade and a siding nailer. Additionally, a 15-gauge trim nailer is essential to this task. Using the appropriate tools and materials ensures a safe and accurate installation, preventing damage to the siding and possible injury.
Cutting and Painting Fiber Cement Boards
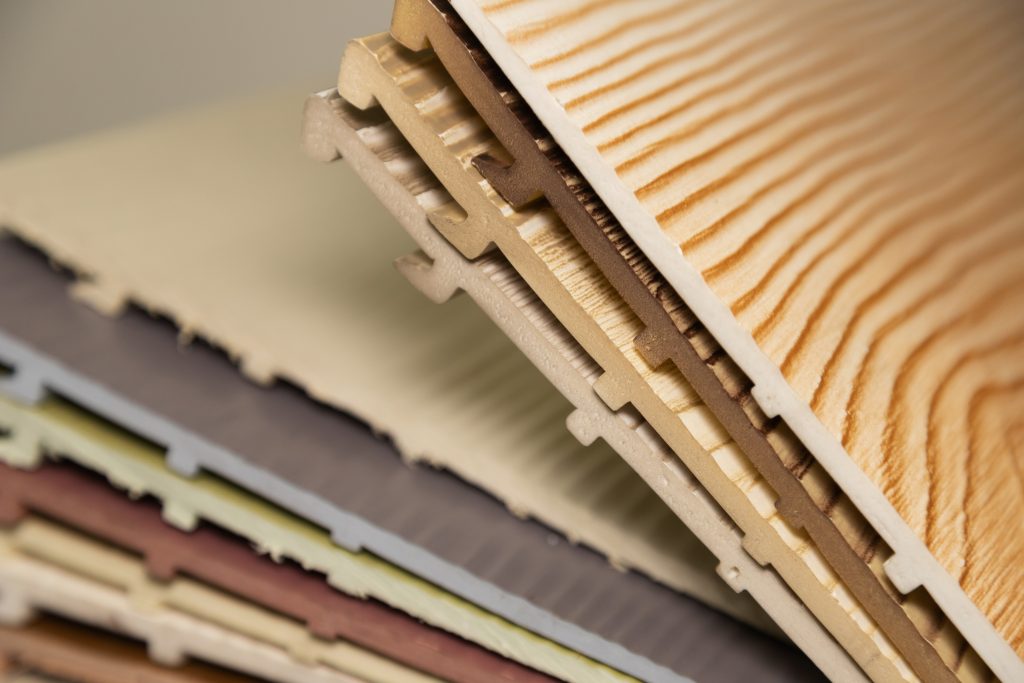
Safety first! When cutting fiber cement boards, always wear a dust mask, safety glasses, and gloves. Use a circular saw or chop saw equipped with an appropriate blade to cut the boards.
To prevent water damage, coat the cut ends of the fiber cement siding with latex paint before installing.
Cutting Techniques
There are various tools and techniques for cutting fiber cement boards. Some options include power saws with polycrystalline diamond blades, siding shears, handheld shears, and guillotine shears.
Remember to wear safety glasses and a dust mask, and use a vacuum cleaner to collect the dust when operating power saws with polycrystalline diamond blades. These tools will help you make clean, straight cuts in the fiber cement boards.
Priming and Painting
Before installing your siding, it’s essential to prime and paint the fiber cement boards. Use an exterior acrylic masonry primer followed by 100% acrylic exterior paint. Applying primer and paint using a brush or roller specifically designed for masonry surfaces ensures a smooth and even finish.
Allow the paint to dry completely before installing the siding.
Installing Starter Strips and Furring Strips

Next up is installing starter strips and furring strips. Starter strips are essential for angling out the first row of siding to align with the remaining rows. First, create your starter strips, then nail them in place using a 15-gauge trim gun.
Furring strips should be added to the top of the wall, ensuring a straight and accurate siding installation.
Creating Starter Strips
To create starter strips, you can either rip HardiePlank lap siding into 1-1/4 inch strips or purchase prefabricated starter strips from third-party vendors.
The starter strips should be 3/8-inch thick to provide the proper angle for the first piece of siding.
Installing Furring Strips
Once your starter strips are in place, it’s time to install the furring strips on the top of the wall. Prior to nailing the frieze boards, drill holes and use two galvanized box nails for each stud, ensuring they are placed at least 3/4-inch from the edges.
Installing the furring strips correctly will help guarantee a straight and accurate siding installation.
Building and Installing Corner Trim
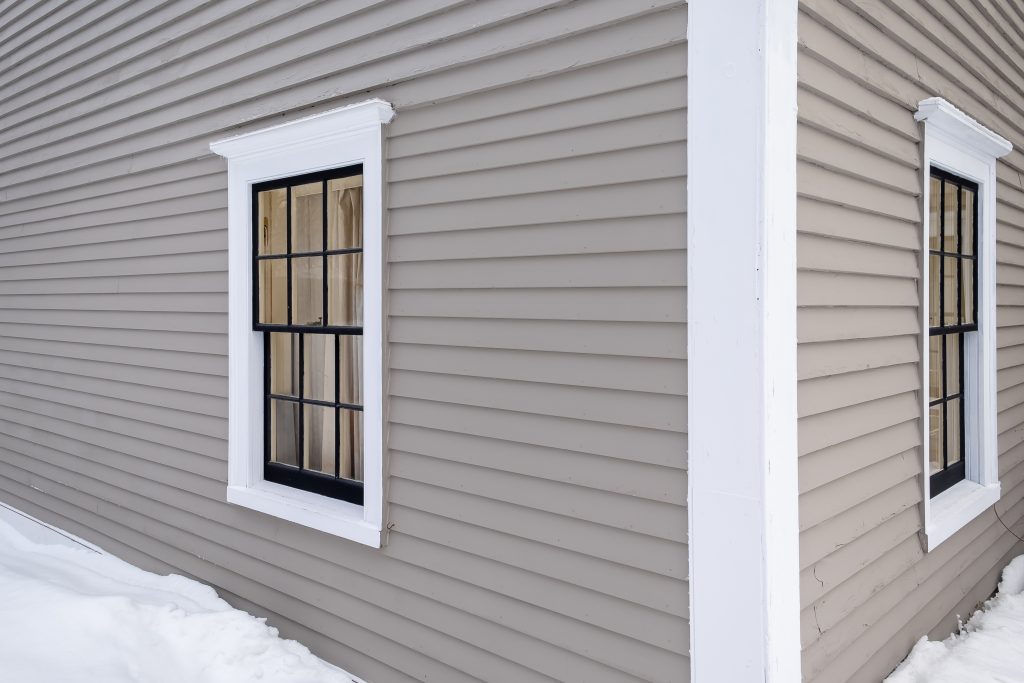
Moving on to the corner trim, you’ll need to construct the trim using 2-14-inch galvanized nails and then install it with a pneumatic coil siding nail gun. Properly installed corner trim adds both structural support and visual appeal to your siding project.
Constructing Corner Trim
Corner trim can be constructed from a variety of materials, such as wood, PVC, vinyl, aluminum, or composite materials. Popular wood choices include cedar and redwood.
Measure the desired length and use a miter saw to cut the corner trim at a 45-degree angle.
Installing Corner Trim
To install corner trim, you’ll need tools such as a hammer or drill and finishing nails or screws. Fix the corner trim to the wall studs with nails, ensuring a secure and accurate fit.
Properly installed corner trim will provide a neat, professional finish to your siding installation.
Laying Out Siding Courses
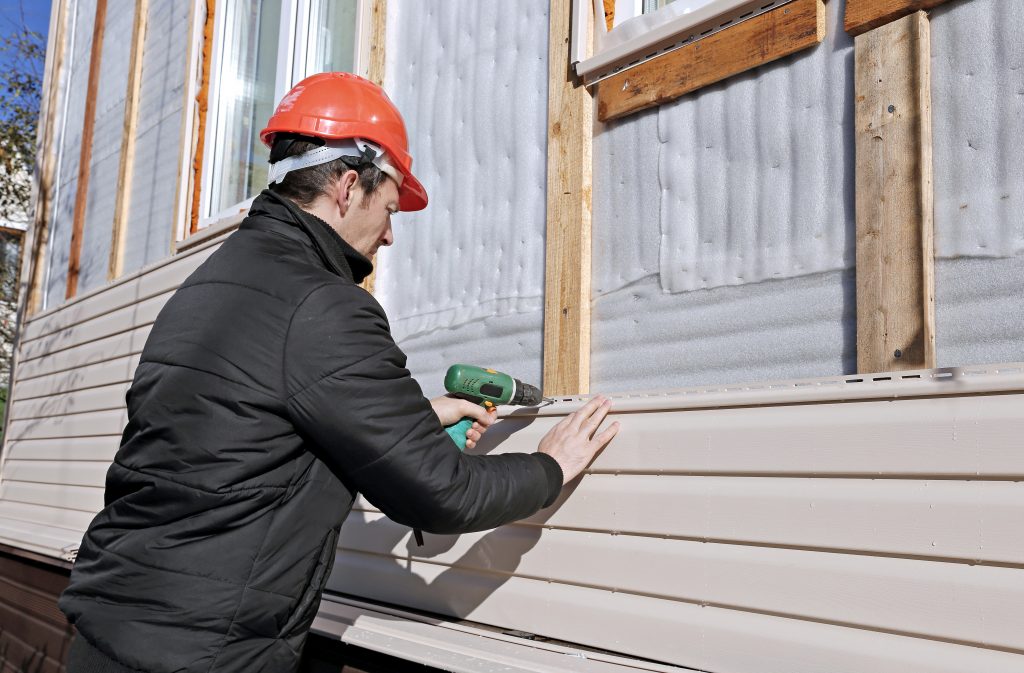
When laying out siding courses, you’ll need a story pole to mark siding courses, snap chalk lines, and measure up from the bottom. This ensures that your siding courses are straight and uniform, providing a visually appealing and structurally sound installation.
Using a Story Pole
A story pole is a tall, slender piece of wood or metal used in siding installation to denote the top of each siding course. Hold the story pole vertically and aligned with the butt edge of the starter course, transferring the marks from the wall to the clapboard.
This helps ensure that each siding course is installed accurately.
Marking Chalk Lines
Chalk lines are a crucial tool for marking straight lines on a surface during siding installation. Use a chalk line reel or chalk box to measure and mark the lines, attaching the hook to one point and pulling the string or chalk powder taut. Snap the lines by releasing the handle, creating a straight line on the surface for accurate siding installation.
Installing Fiber Cement Siding

Now that your siding courses are laid out, it’s time to install the fiber cement siding. Nail each course with a 1/8-inch gap, staggering butt joints and leaving gaps for trim and flashing.
This ensures a secure and watertight installation, protecting your home from the elements.
Nailing Techniques
To nail fiber cement siding, you can use a hammer and nails or a pneumatic nail gun. It’s important to use hot-dipped galvanized or stainless steel nails that penetrate through the sheathing and at least 1″ into studs.
Proper nailing techniques ensure a secure and long-lasting siding installation.
Staggering Butt Joints
Staggering butt joints is an important aspect of fiber cement siding installation. Space the joints as far apart as possible to avoid any discernible patterns and ensure that all butt joints are situated on studs. This helps create a visually appealing and structurally sound installation.
Fitting Siding Around Windows and Doors
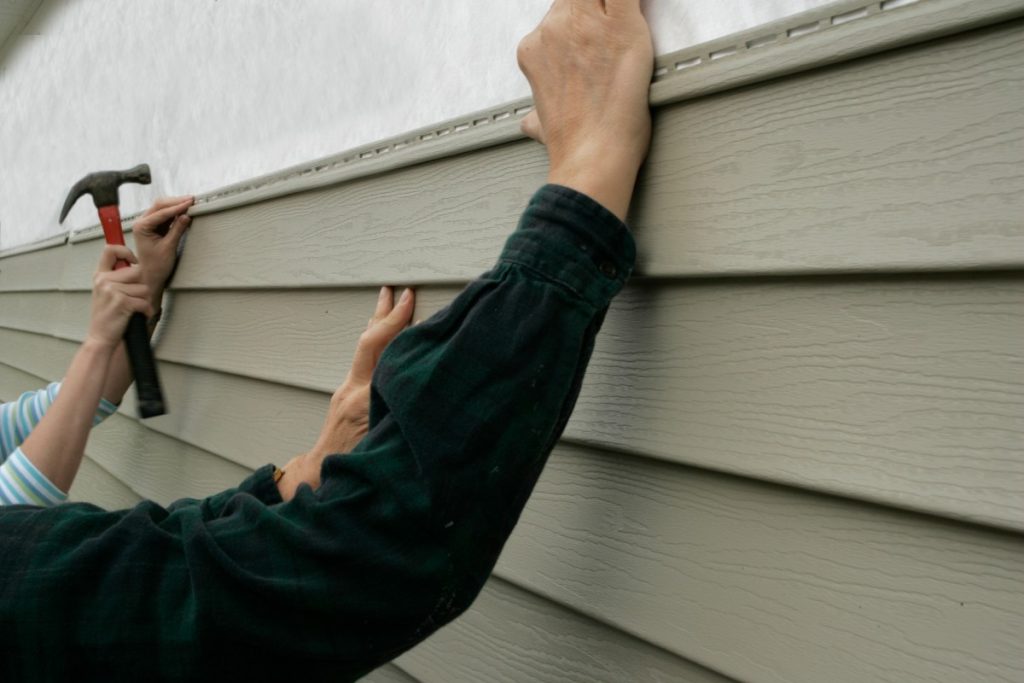
Fitting siding around windows and doors involves cutting siding to fit, installing drip caps, and caulking to prevent water damage.
Use a jigsaw with a tungsten or carbide grit blade to make cutouts for windows and doors, ensuring a precise fit.
Cutting Siding for Windows and Doors
When cutting siding for windows and doors, use handheld shears, power shears, or circular saws with specialized fiber cement blades. These tools will help you make accurate cuts, ensuring a proper fit around windows and doors.
Installing Drip Caps and Caulking
Drip caps are essential for preventing water damage around windows and doors. Install the drip caps so they are wider than the window or door and overlap the trim.
Caulk any gaps or cracks between the roofing material and the wall with a high-quality caulk designed for exterior use.
Finishing Touches: Painting and Flashing

The final steps in your fiber cement siding installation are painting and flashing. Paint the siding with 100% acrylic latex paint to protect it from the elements and give your home a polished appearance.
Install flashing behind butt joints to prevent water damage, ensuring a watertight installation that will last for years to come.
Painting Fiber Cement Siding
For painting fiber cement siding, use 100% acrylic latex paint and ensure the surface is clean and prepared. Apply the paint using a brush, roller, or sprayer, applying thin, even coats for a professional finish.
Allow the paint to dry completely before performing any post-application cleanup.
Installing Flashing
The type of flashing required depends on the roof-covering material, but it’s important to install it in a way that overlaps the roof-covering material. Secure the flashing to the roof using roofing nails, and seal any gaps or cracks between the roofing material and the wall with caulk to ensure a watertight installation.
Summary
From preparation to finishing touches, this comprehensive guide has covered the step-by-step process of installing fiber cement siding. With the right tools, materials, and techniques, you can transform the exterior of your home, ensuring a durable, low-maintenance, and visually appealing result. Now that you’re equipped with the knowledge and expertise, it’s time to embark on your DIY fiber cement siding installation journey and give your home the facelift it deserves.
Frequently Asked Questions
How do you install fiber cement siding by yourself?
Installing fiber cement siding by yourself involves several steps, including removing existing siding, measuring and making starter strips, adding nail furring strips, building the corners, cutting the fiber cement siding boards, and finally installing the siding and removing the plastic.
With careful preparation and attention to detail, you can successfully complete this task on your own.
Is fiber cement siding hard to install?
Installing fiber cement siding can be quite a challenging task due to the amount of time, skill, and tools needed. While it is possible for a seasoned DIYer to install fiber cement correctly, there are many risks associated with attempting it on your own.
Therefore, hiring a professional is highly recommended.
What was the main problem with fiber cement board siding?
The main problem with fiber cement board siding is its dust generated from installation, which can contain respirable crystalline silica and lead to serious health issues like silicosis, lung cancer, and COPD.
As such, it is important that homeowners take proper safety measures when installing this type of siding.
How do you fasten fiber cement panels?
Securing fiber cement siding requires pre-drilling and using the correct nails. Hand nailing is possible, but a pneumatic nail gun may be necessary for efficiency.
You’ll need corrosion-resistant nails, such as hot-dipped galvanized or stainless steel, to fasten the panels. Make sure to drive them at least 1″ into the studs.
