Are you ready to transform your space with a stunning board and batten wall? This step-by-step guide on how to paint board and batten will unleash your inner DIY enthusiast and turn you into a board and batten painting pro in no time! Let’s dive into the exciting world of painting board and batten walls and create a masterpiece you’ll be proud to show off.
Short Summary
Transform your board and batten wall with an exciting DIY project!
Choose the perfect paint type, finish, and supplies to get creative.
Reinstall fixtures & decor for a stunning board and batten wall finish!
Prepping the Board and Batten Wall for Painting
Before we can unleash our inner artists, we need to prepare our canvas – the board and batten wall. Proper preparation ensures a smooth and professional finish that will make your wall the focal point of the room.
Don’t worry, we’ve got you covered with all the tips and tricks to make your DIY board and batten project a success.
Filling Nail Holes
Nail holes may seem like tiny details, but they can make a big difference in the final look of your board and batten wall. To achieve a flawless finish, it’s essential to fill nail holes with wood filler or spackle.
But wait, what if you find any nails sticking out? No problem! Grab a hammer and a nail set and pound those nails in like a pro. After filling the nail holes, make sure to remove any excess spackle or wood filler and wipe down the wall with a damp cloth for a clean slate.
Sanding the Surface
Once your nail holes are filled and the putty is dry, it’s time to sand the surface for that perfectly smooth finish you’ve been dreaming of. Using 220-grit sandpaper and an orbital sander, gently smooth out the surface of the wall, making sure to pay extra attention to any uneven areas.
When you’re done sanding, don’t forget to clean up the dust, as it could affect your paint job. Now your wall is ready for the next step: caulking seams!
Caulking Seams
Caulking seams is the secret ingredient for a seamless and professional finish on your board and batten wall. It’s all about filling gaps between the wood and the wall or ceiling, making everything look perfectly straight and polished. To achieve this enchanting effect, use caulk without silicone or latex.
Want to know the best method for caulking next to a wall? Simply tape off the wall, leaving a little gap, apply a bead of caulk down the seam, then wipe the line with a wet finger and remove the tape. Now, that’s what we call a professional touch!
Choosing the Right Paint and Supplies
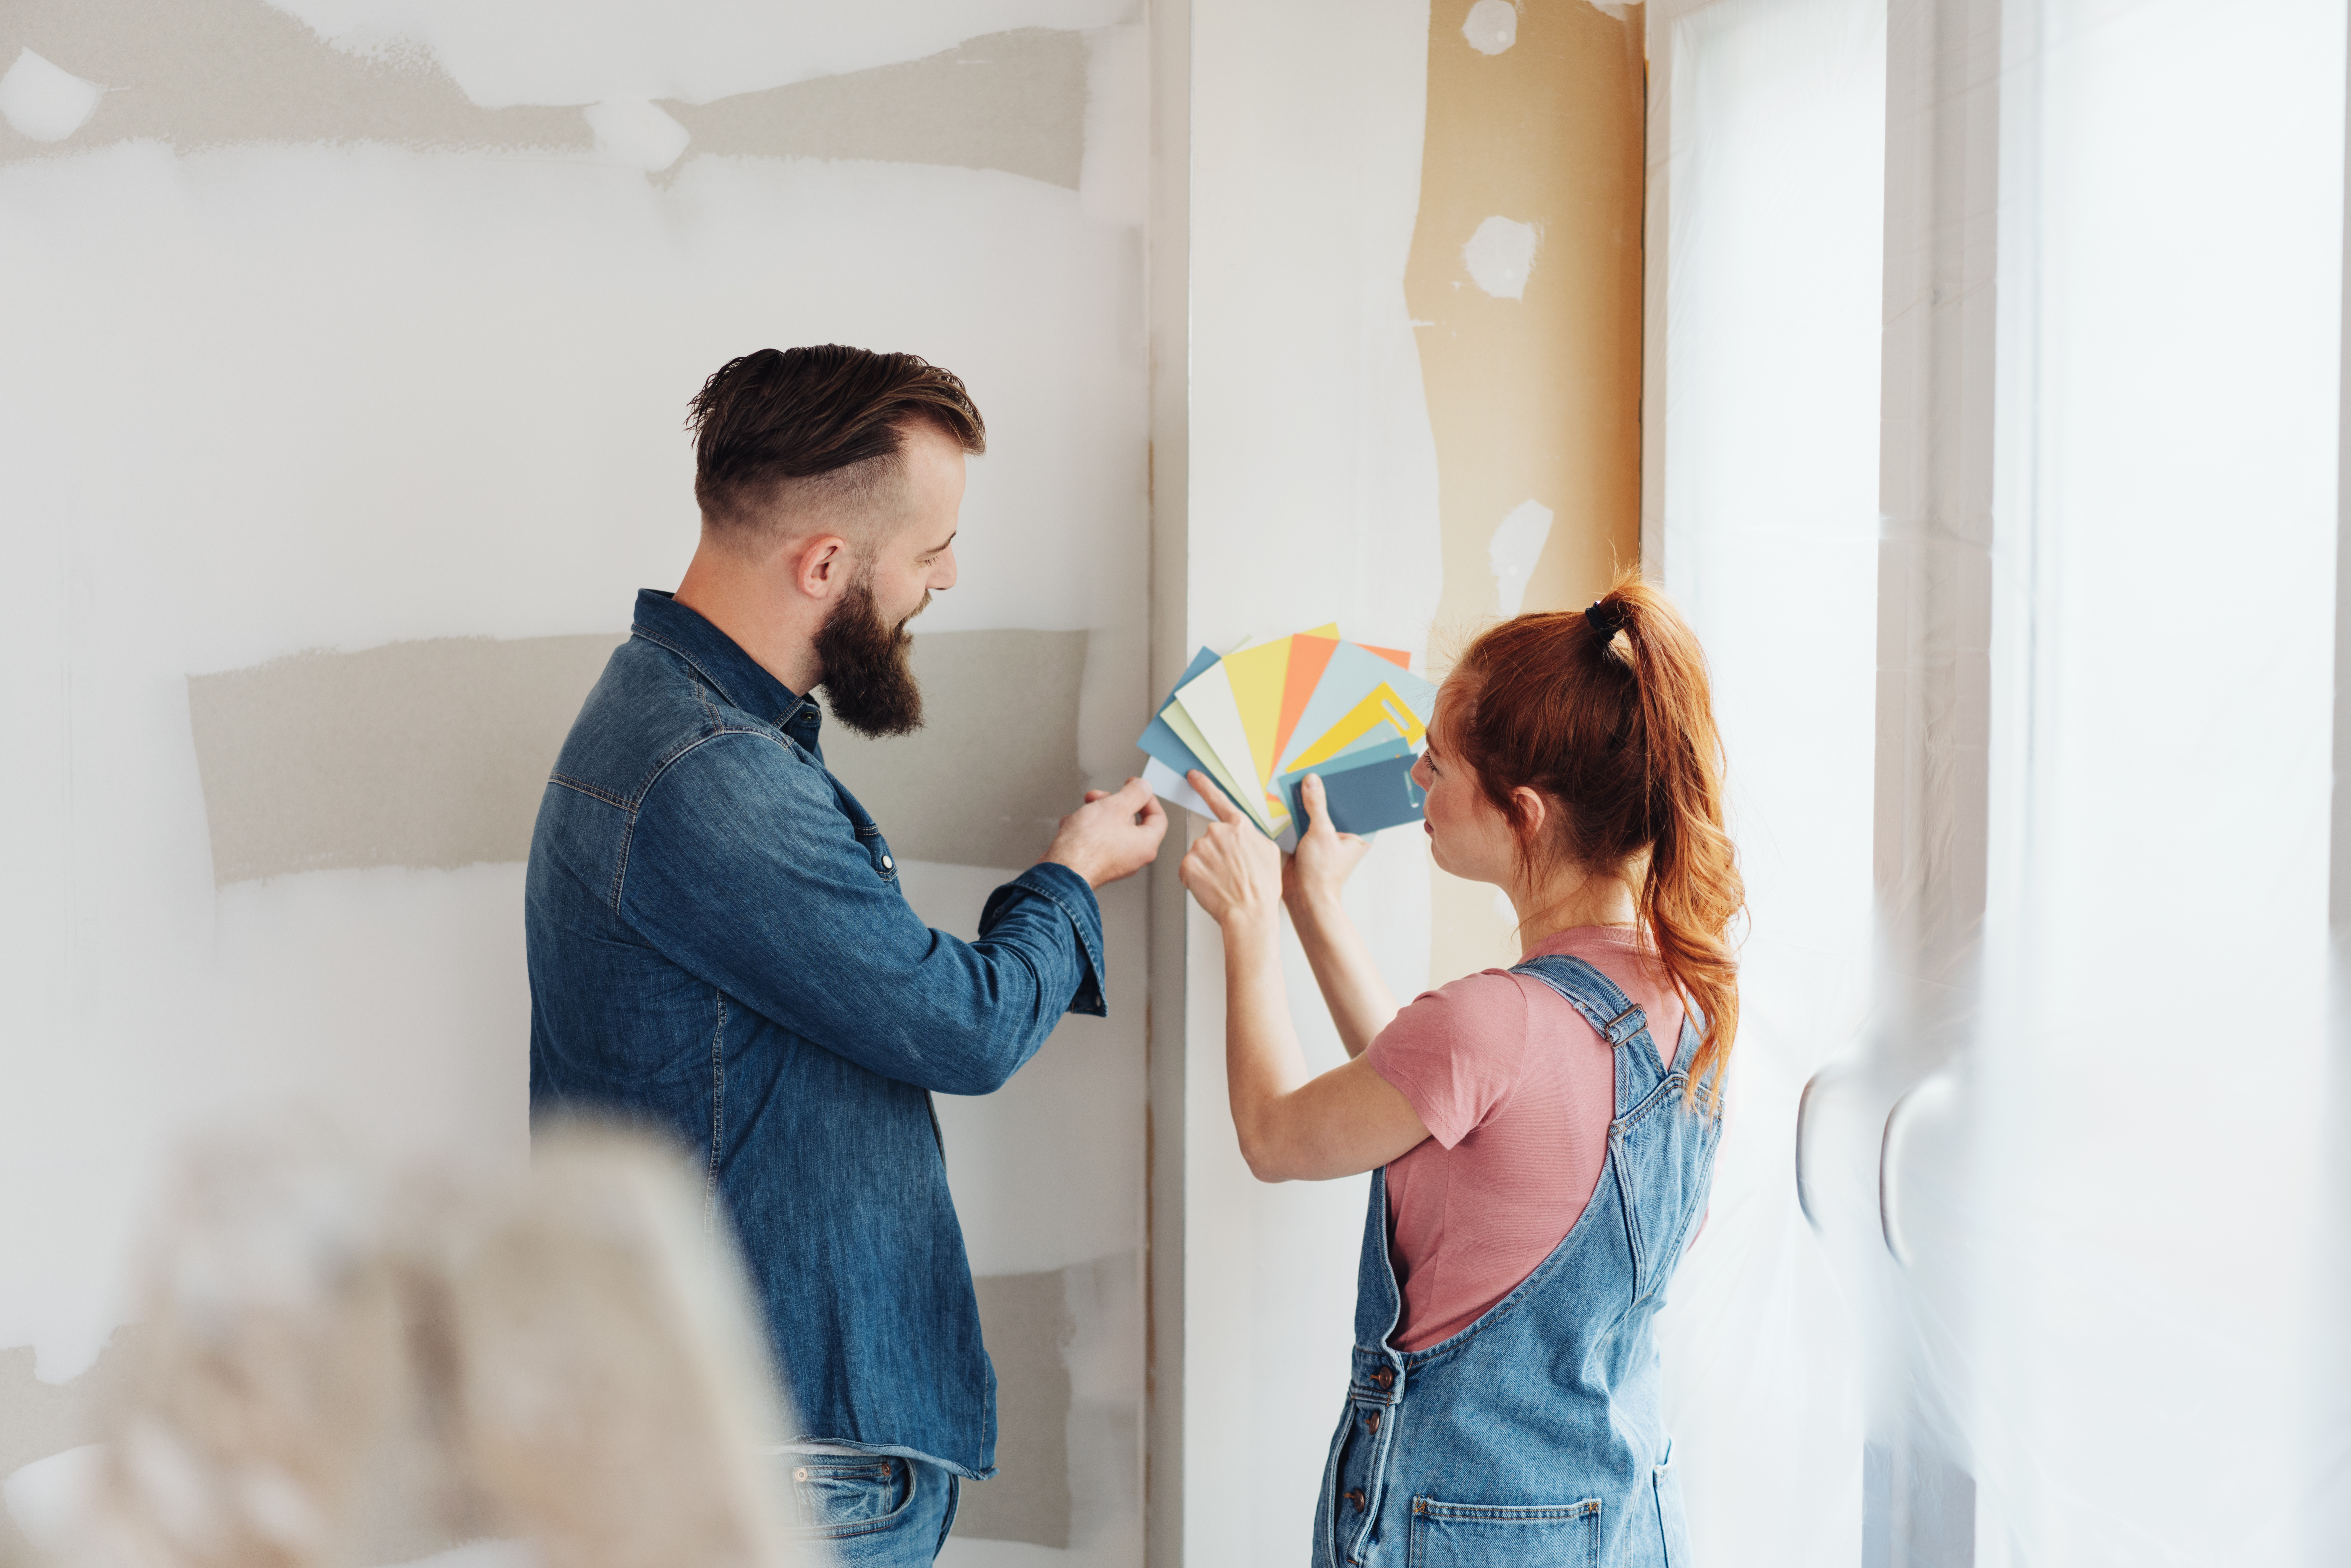
Now that our wall is prepped and primed, it’s time to choose the right paint and supplies to bring our board and batten masterpiece to life. Selecting the perfect paint type, finish, and essential painting supplies is crucial for a successful project.
Let’s dive into the world of paint types and finishes and explore the essential supplies needed for your DIY board and batten wall.
Paint Types and Finishes
With so many paint finishes available, how do you choose the best one for your board and batten wall? The answer is simple: eggshell paint finish. This versatile finish provides a balance between durability and elegance, making it perfect for your project.
When it comes to choosing a paint color, the possibilities are endless! Just remember that the best paint colors for board and batten walls depend on the look you’re trying to achieve, so don’t be afraid to get creative.
Essential Painting Supplies
Now that you’ve chosen your paint type and finish, it’s time to gather your essential painting supplies. You’ll need paint, painter’s tape, brushes, rollers, wood filler, and caulk to make your board and batten wall come to life. Remember to choose a paint finish that’s recommended for board and batten walls, like eggshell.
As for painting techniques, use a small foam roller for the faces and a small brush to cut in the edges for a professional finish. If you’re looking for speed, a paint sprayer is your best friend when painting board and batten walls.
Painting Techniques for Board and Batten Walls
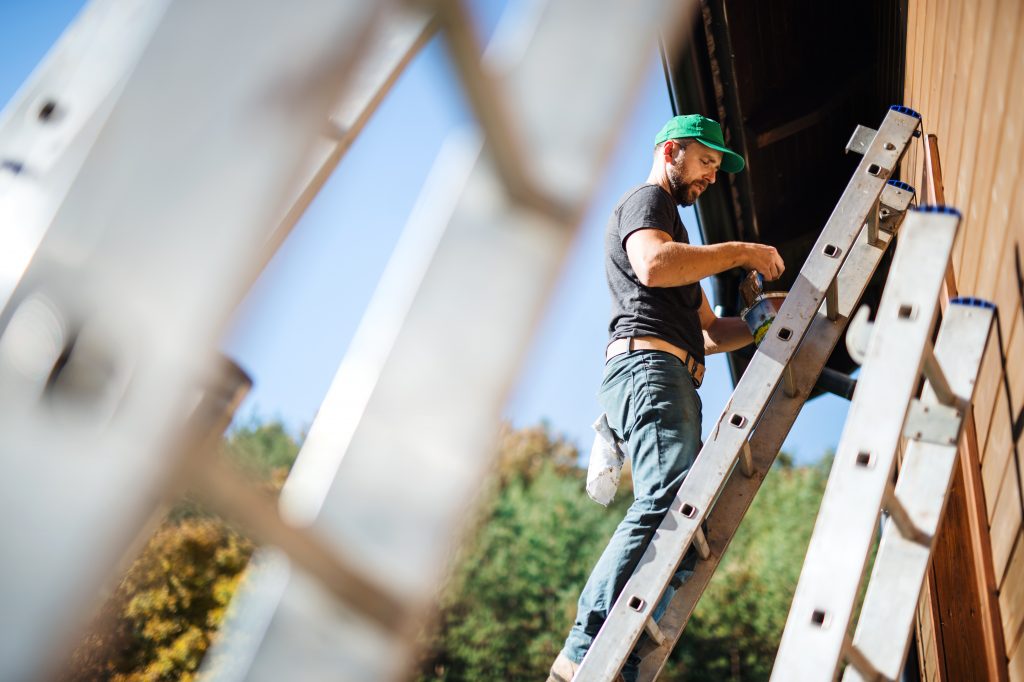
It’s time to bring your board and batten wall to life with some fantastic painting techniques! We’ll walk you through priming the wall, painting the boards, and painting the battens.
With these techniques under your belt, your board and batten wall will be the envy of the neighborhood.
Priming the Wall
Priming the wall is the first step in painting your board and batten masterpiece. Using a primer not only ensures a smooth and even paint job, but also prevents yellowing over time. To apply the primer, start by cutting in the edges of the wall with a brush, and then use a roller to apply the primer in a thin, even coat.
Once the primer has dried, inspect the wall for any missed spots and apply a touch-up coat of primer to those areas if needed. Your wall is now primed and ready for painting!
Painting the Boards
With your wall primed and ready, it’s time to paint the boards. Use an enamel that matches the other trim in the room and apply it using a small foam roller for the faces and a small brush for the edges. This technique ensures a smooth and even finish without any visible brush strokes.
Be sure to paint the wall beneath the boards as well, as it may be visible once the battens are installed. With your boards painted, you’re one step closer to a stunning board and batten wall!
Painting the Battens
Now it’s time to paint the battens! Just like with the boards, use an enamel that matches the other trim in the room. Apply the paint using the same technique as the boards – a small foam roller for the faces and a small brush to cut in the edges. Make sure to cover all visible surfaces, including the edges and any exposed ends.
With the battens painted, your board and batten wall is really starting to come together!
Using a Paint Sprayer for Faster Results
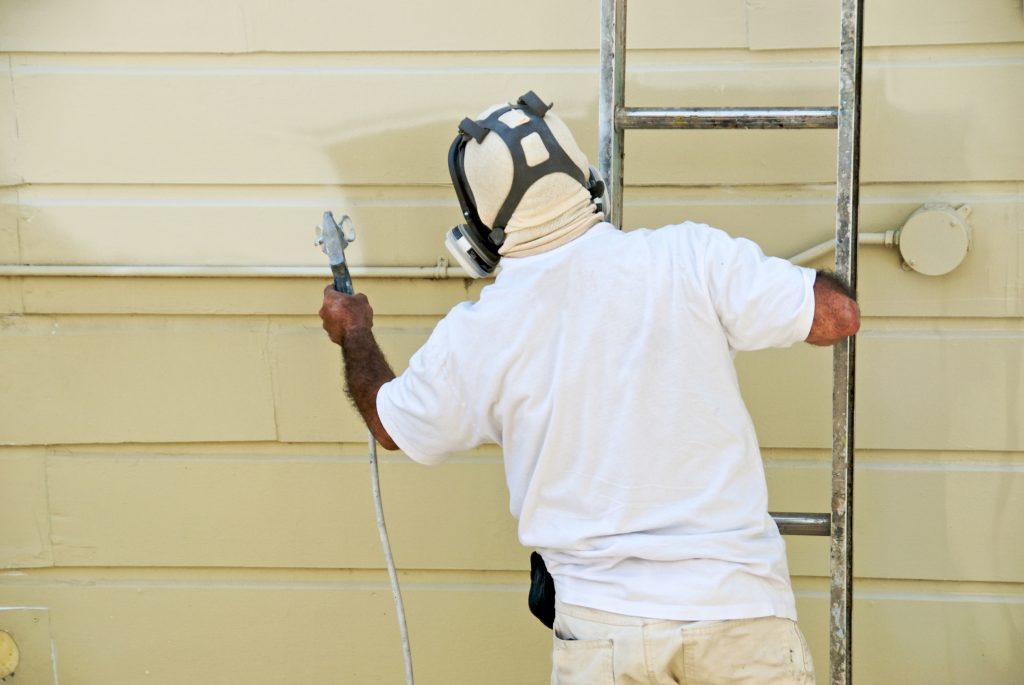
If you’re short on time or looking for an even smoother finish, a paint sprayer might be the answer to your board and batten wall painting needs. In this section, we’ll guide you through selecting the right paint sprayer, preparing the area for spraying, and mastering the proper spraying techniques for a flawless finish.
Selecting a Paint Sprayer
Choosing the right paint sprayer for your board and batten wall is crucial for a successful project. Based on our research, the Wagner FLEXiO paint sprayer is a highly popular choice for painting board and batten walls.
When selecting a paint sprayer, make sure to consider the type of paint you’ll be using and follow the manufacturer’s recommendations for the sprayer. With the right paint sprayer in hand, you’re ready to tackle your board and batten wall with speed and precision!
Preparing for Spraying
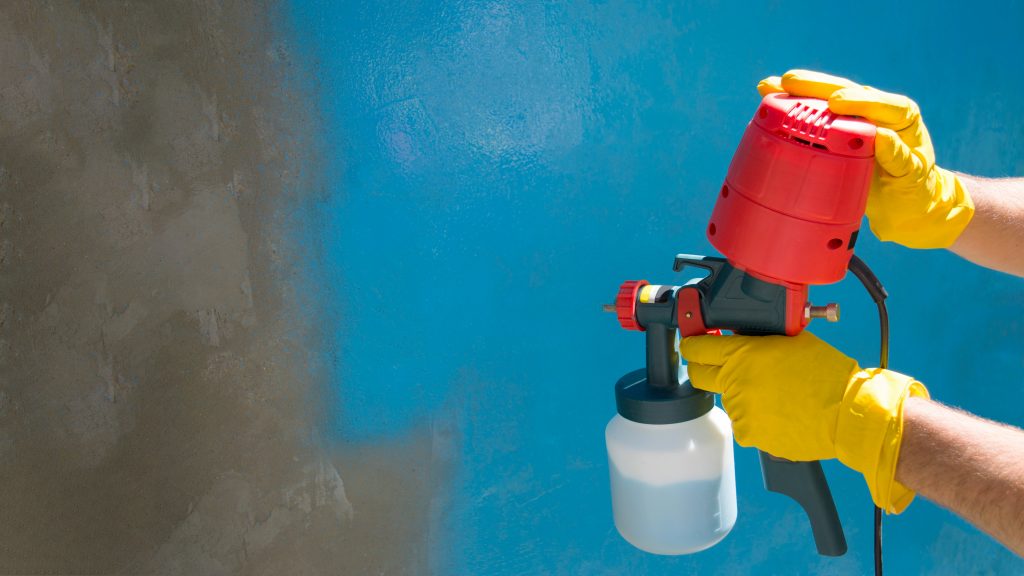
Before you start spraying, it’s essential to prep and clean the area to be painted. Add tape and cover the surrounding area to protect your floor and furniture from paint splatters. Also, make sure to caulk the gaps between the boards and battens before painting, as this will ensure a seamless finish.
Remember to avoid using liquid nails, as they can damage the drywall if you change your mind on the wall treatment. With your area prepped, it’s time to master the art of spraying!
Spraying Techniques
When using a sprayer to paint your board and batten wall, start by painting in long, even strokes, moving your entire body and arm up and down instead of just your wrist. This technique ensures the paint is applied evenly and without any drips or runs.
Keep the sprayer moving to avoid drips. Don’t pause in one spot for longer than a fraction of a second. With these spraying techniques under your belt, you’ll have a professional-looking board and batten wall in no time!
Finishing Touches and Clean-Up
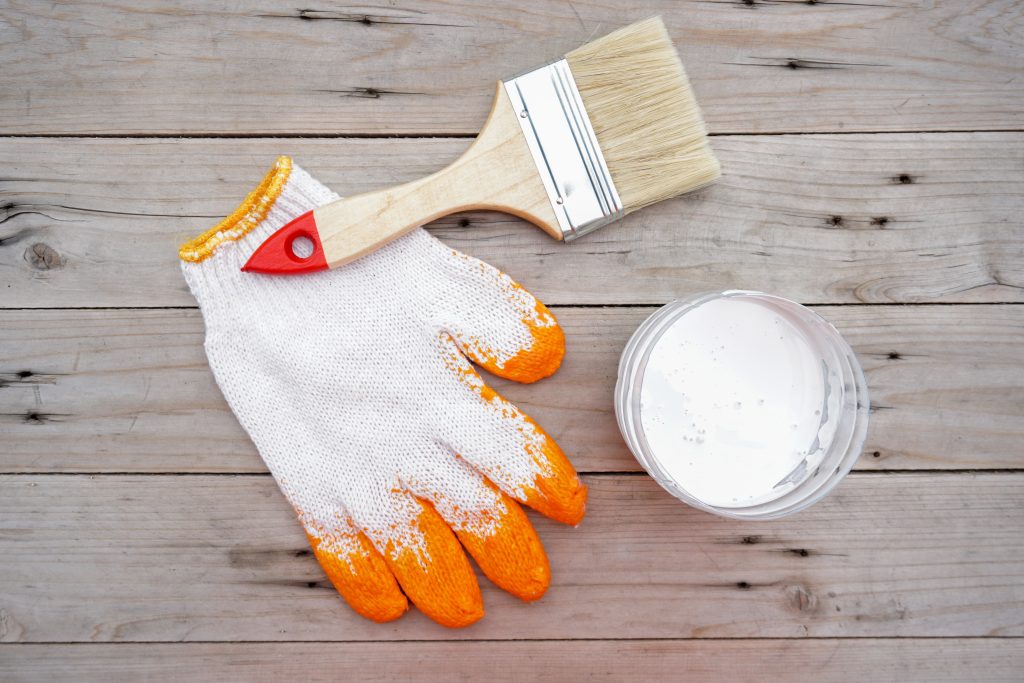
Once your board and batten wall is painted, it’s time to add the finishing touches and clean up your painting supplies. In this section, we’ll cover touching up any imperfections, cleaning brushes and rollers, and reinstalling fixtures and decor.
After all, it’s the little details that make a big difference in the end result.
Touching Up Imperfections
After the paint has dried, it’s time to inspect your board and batten wall for any imperfections. If you find any missed spots, gaps, or nail holes, don’t worry – we’ve got your back!
Use spackle to fill in gaps and nail holes for a flawless finish. To sand everything smooth, use sandpaper and gently buff the surface until it’s perfect.
Finally, wipe the wall down with a damp microfiber cloth to remove any dust or debris. Now your board and batten wall is truly a work of art!
Cleaning Brushes and Rollers
Painting may be over, but it’s essential to clean your brushes and rollers for future use. To scrape off excess paint, use a putty knife or a paint scraper with enthusiasm. Then wash and rinse brushes and rollers with warm water and a mild detergent. Rinse thoroughly and dry with a clean cloth.
For stubborn areas, use a stiff bristle brush and warm water to scrub away any remaining paint. Your brushes and rollers are now ready for your next home improvement project!
Reinstalling Fixtures and Decor
With your board and batten wall painted and your painting supplies cleaned, it’s time to put the finishing touches on your room by reinstalling fixtures and decor. Carefully remove any painter’s tape and plastic, and reinstall any light switches, outlet covers, or other fixtures that were removed during the painting process.
Next, add your favorite decor pieces to the room to complete the look. Your stunning board and batten wall is now the perfect backdrop for your stylish space!
Summary
Congratulations on completing your board and batten wall painting project! By following this step-by-step guide, you’ve successfully prepped the wall, chosen the right paint and supplies, mastered painting techniques, used a paint sprayer for faster results, and added the finishing touches to your masterpiece. Your board and batten wall is now a stunning focal point in your home, and you can be proud of the hard work and creativity that went into creating it. So, what are you waiting for? It’s time to show off your beautiful board and batten wall to the world!
Frequently Asked Questions
What is the best way to paint board and batten?
Painting a board and batten wall doesn’t have to be complicated! Start by prepping the room, then use a FLEXiO paint sprayer to apply two coats of paint.
Finally, when the paint is wet, carefully remove all the painter’s plastic and tape for a professional finish. Get excited about transforming your room with a beautiful board and batten wall!
What type of paint do you use on board and batten?
For board and batten, the most popular choice is eggshell finish. It gives your walls a low lustre and soft texture that looks great in any interior setting. Eggshell lies between flat and satin on the sheen scale, making it the perfect balance of style and practicality.
Get ready to enjoy a stunning transformation with eggshell paint!
Should you paint the wall before or after board and batten?
2 – It’s best to paint the wall before board and batten! Painting first will make the whole process easier – you won’t have to worry about accidentally getting paint on your trim when you’re painting. Plus, you can ensure that any repairs to your walls are covered before you install the trim.
Let’s get going on those accent walls!
Do you need to prime board and batten?
Yes, you definitely need to prime your board and battens before you start painting! Not prepping them properly can cause yellowing over time, so it’s best to take the extra step and ensure a longer-lasting, beautiful finish.
Get your paintbrush ready and grab that primer – let’s get started!
What is board and batten?
Board and Batten is a classic siding style that combines wide boards with thin strips of wood—or battens—to give a house character, texture, and visual interest. The vertical lines created by the alternating boards and battens are perfect for adding traditional charm to any home exterior.
This style of siding is a great way to add a timeless look to your home. It is also a relatively easy and affordable way to update the exterior of your home. Board and Batten siding is available in a variety of materials, including wood, vinyl, and wood.
