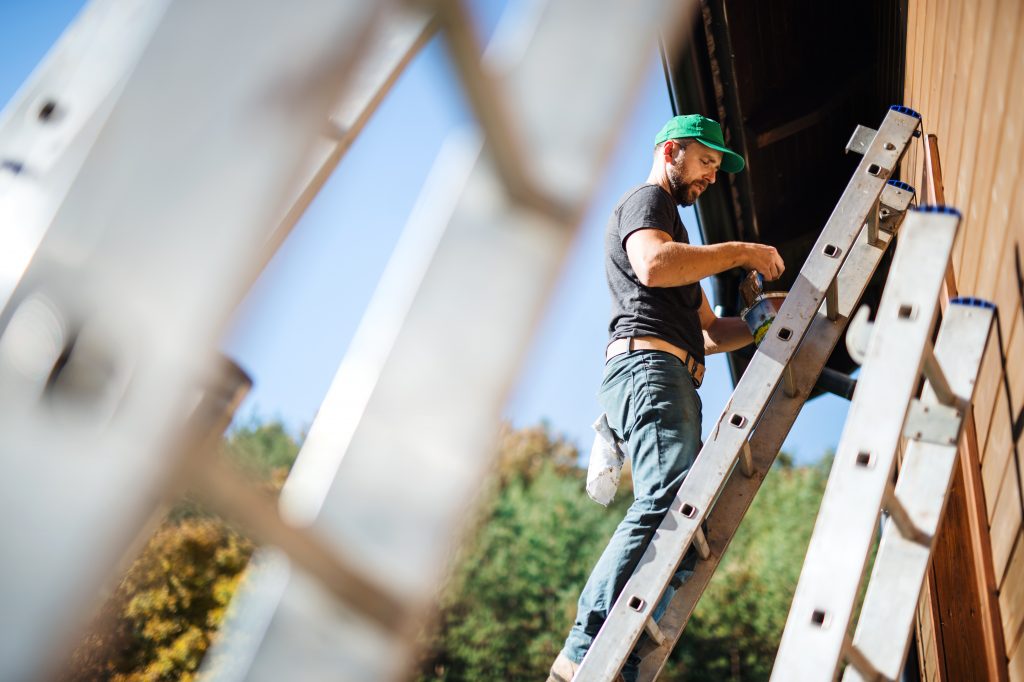
Wood siding is undeniably one of the most aesthetically pleasing materials for home exteriors, offering not only a timeless look but also benefits such as low thermal conductivity. However, like all materials, wood siding is not immune to wear and tear. Over time, it can succumb to decomposition, cracks, and other forms of damage. In this article, we’ll delve deep into the steps to effectively repair wood siding, ensuring longevity and maintaining the beauty of your home.
Why Wood Siding Requires Attention
While wood siding offers a plethora of advantages, it is not invincible. Factors such as water infiltration through minor cracks, significant physical impacts, and natural decomposition can lead to the need for repairs. Moreover, unlike some other siding materials, wood requires a meticulous approach to ensure that the repair process doesn’t cause further damage.
Essential Tools and Materials for Repair
Before embarking on the repair journey, it’s crucial to gather the right tools and materials. Here’s a comprehensive list:
- Hammer
- Utility knife and replacement blades
- Electric miter saw
- Pry bar
- Carpenter’s pencil
- Speed square
- Primer and paint
- Tape measure
- Dust mask and safety glasses
- Caulk
- Multi-tool equipped with a wood blade
- Stainless steel siding nails (1 3/4 –inch long)
- Replacement wood or siding board
Step-by-Step Repair Process
1. Identifying the Damaged Area
Place the speed square at the base of the area needing repair, roughly a foot away. Draw a vertical line using the carpenter’s pencil on both sides of the damaged section. This method is efficient and negates the need to remove the entire length of the damaged siding board.
2. Separating the Damaged Section
With the utility knife, carefully cut away the paint and caulk binding the damaged part to its adjacent sections. This step might require multiple passes and frequent blade changes for optimal results.
3. Making Vertical Cuts
Safety first! Don your safety glasses and mask. Using the electric multi-tool fitted with a wood blade, follow the vertical lines drawn earlier, cutting through the wood. Exercise caution to avoid cutting beyond the board.
4. Extracting the Nails
Insert the pry bar between the damaged board and its neighbor. Gently rock it to expose the nails, which can then be pulled out using the claw end of a hammer.
5. Crafting the New Siding
Measure and cut a new section of siding using the electric miter saw. For accuracy, overlay the damaged piece on the new board and mark the dimensions.
6. Securing the New Siding
Slide the new board beneath the top board, ensuring a snug fit. Nail it in place, being cautious not to nail too tightly. Utilize the pre-existing holes before adding nails to other areas.
7. Final Touches
Seal all seams with caulk, pressing it in for a firm hold. Once dried, apply a coat of primer followed by two layers of paint, restoring the siding’s pristine appearance.
Choosing the Right Professionals
While DIY repairs can be fulfilling, there’s no substitute for professional expertise. If you’re in the Seattle area, consider reaching out to KV Construction LLC, one of the leading siding contractors in Seattle. With a team of skilled siders in Seattle WA, they ensure top-notch siding repairs and installations.
Conclusion
Wood siding, with its natural charm, is a favorite among homeowners. However, it demands regular maintenance and timely repairs. By following the steps outlined above, homeowners can ensure that their wood siding remains in impeccable condition for years to come. And remember, when in doubt or when seeking expert assistance in the Seattle area, KV Construction LLC is just a call away.

