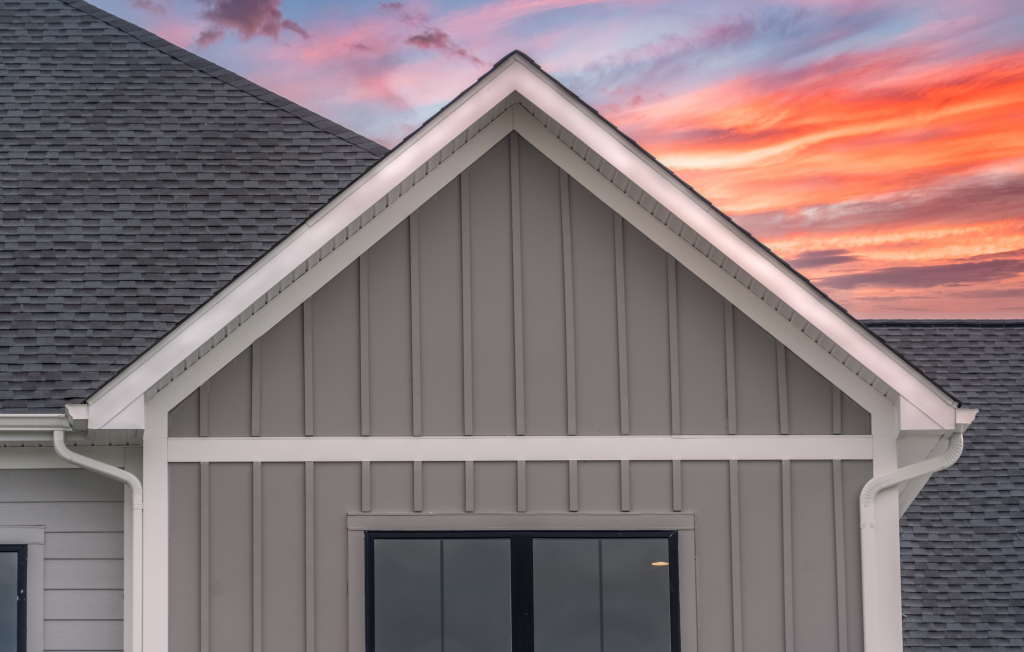
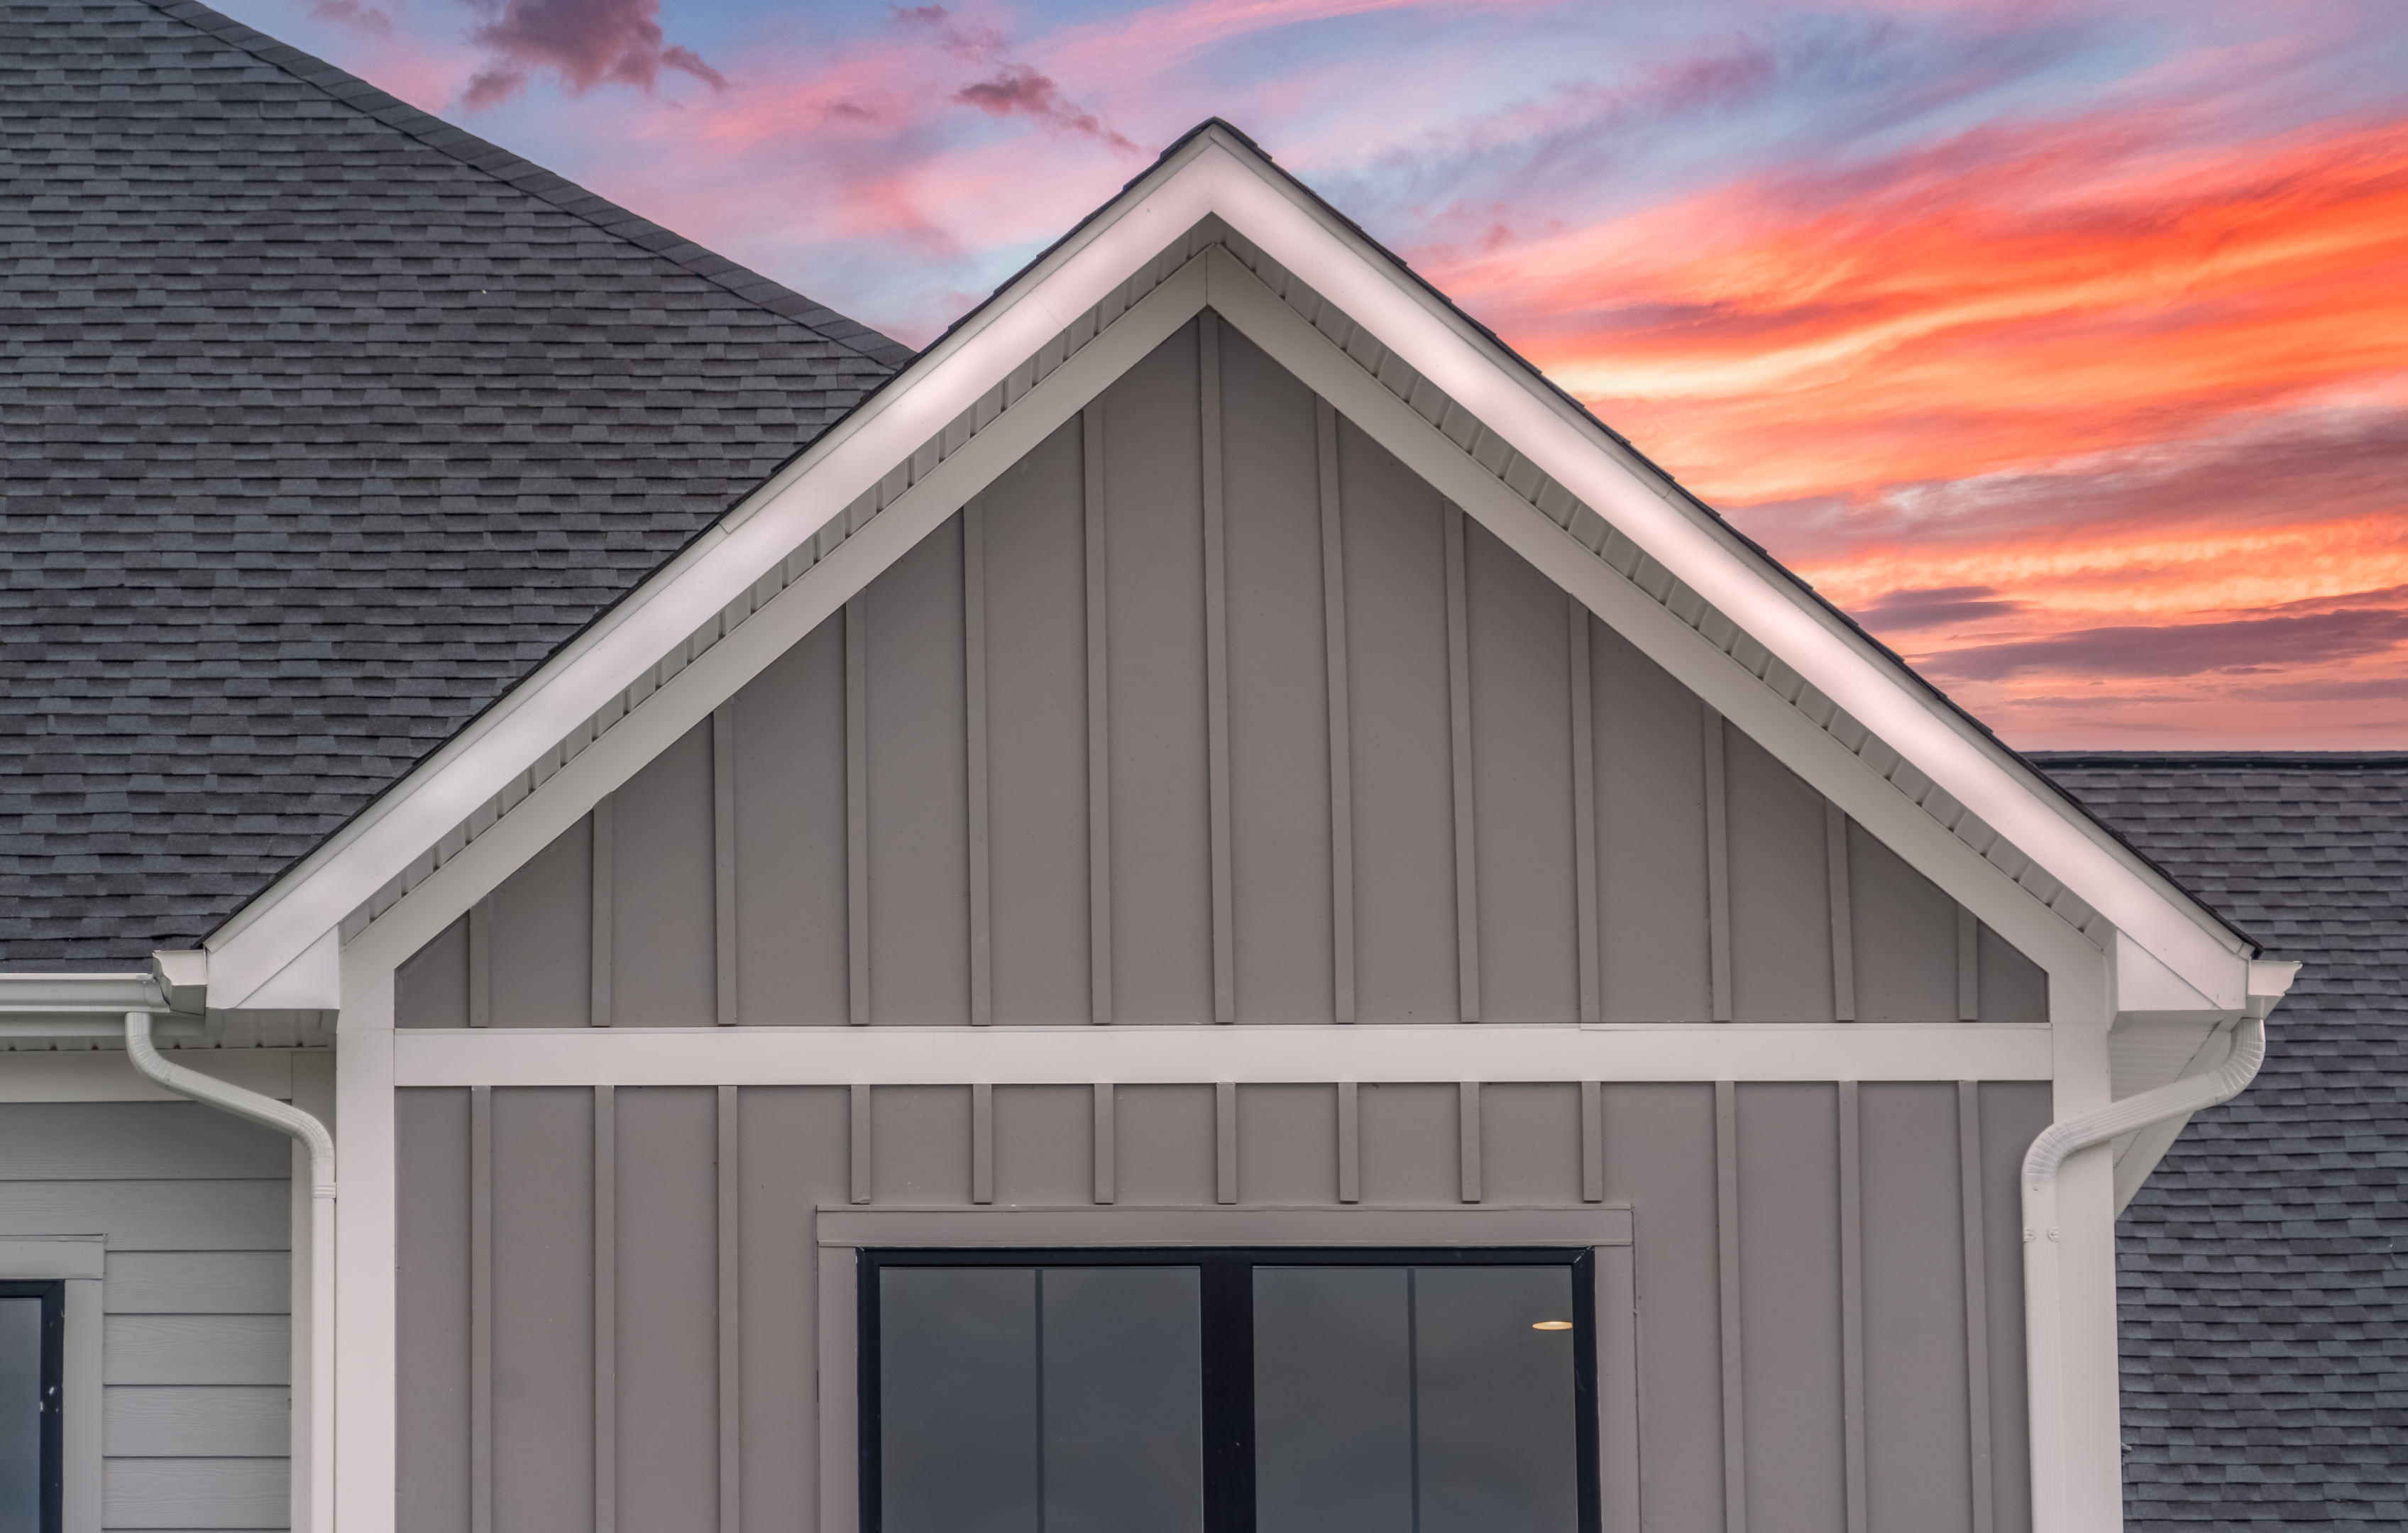
Board and batten siding has been a popular choice for homeowners looking to add an aesthetically pleasing, traditional touch to their homes. With its durability and simple installation process, this siding system can be a DIY enthusiast’s dream project. But where do you start? In this comprehensive guide on how to install board and batten siding, we’ll walk you through everything from choosing the right materials to installing and maintaining your new siding, ensuring that you achieve the perfect look and long-lasting performance.
What makes board and batten siding so appealing? The combination of wide boards and narrow battens creates an elegant and timeless appearance, making it the perfect choice for a range of architectural styles. By following our step-by-step instructions on how to install board and batten siding, you can transform the exterior of your home and elevate its curb appeal with this classic design.
Short Summary
Choose materials for board and batten siding carefully, including wood, vinyl, fiber cement or metal.
Essential tools & preparation are required for a successful installation.
Seal & paint correctly with high quality products to ensure longevity. Regular inspections & cleaning will help maintain the aesthetic appeal of your siding.
Choosing the Right Materials for Board and Batten Siding
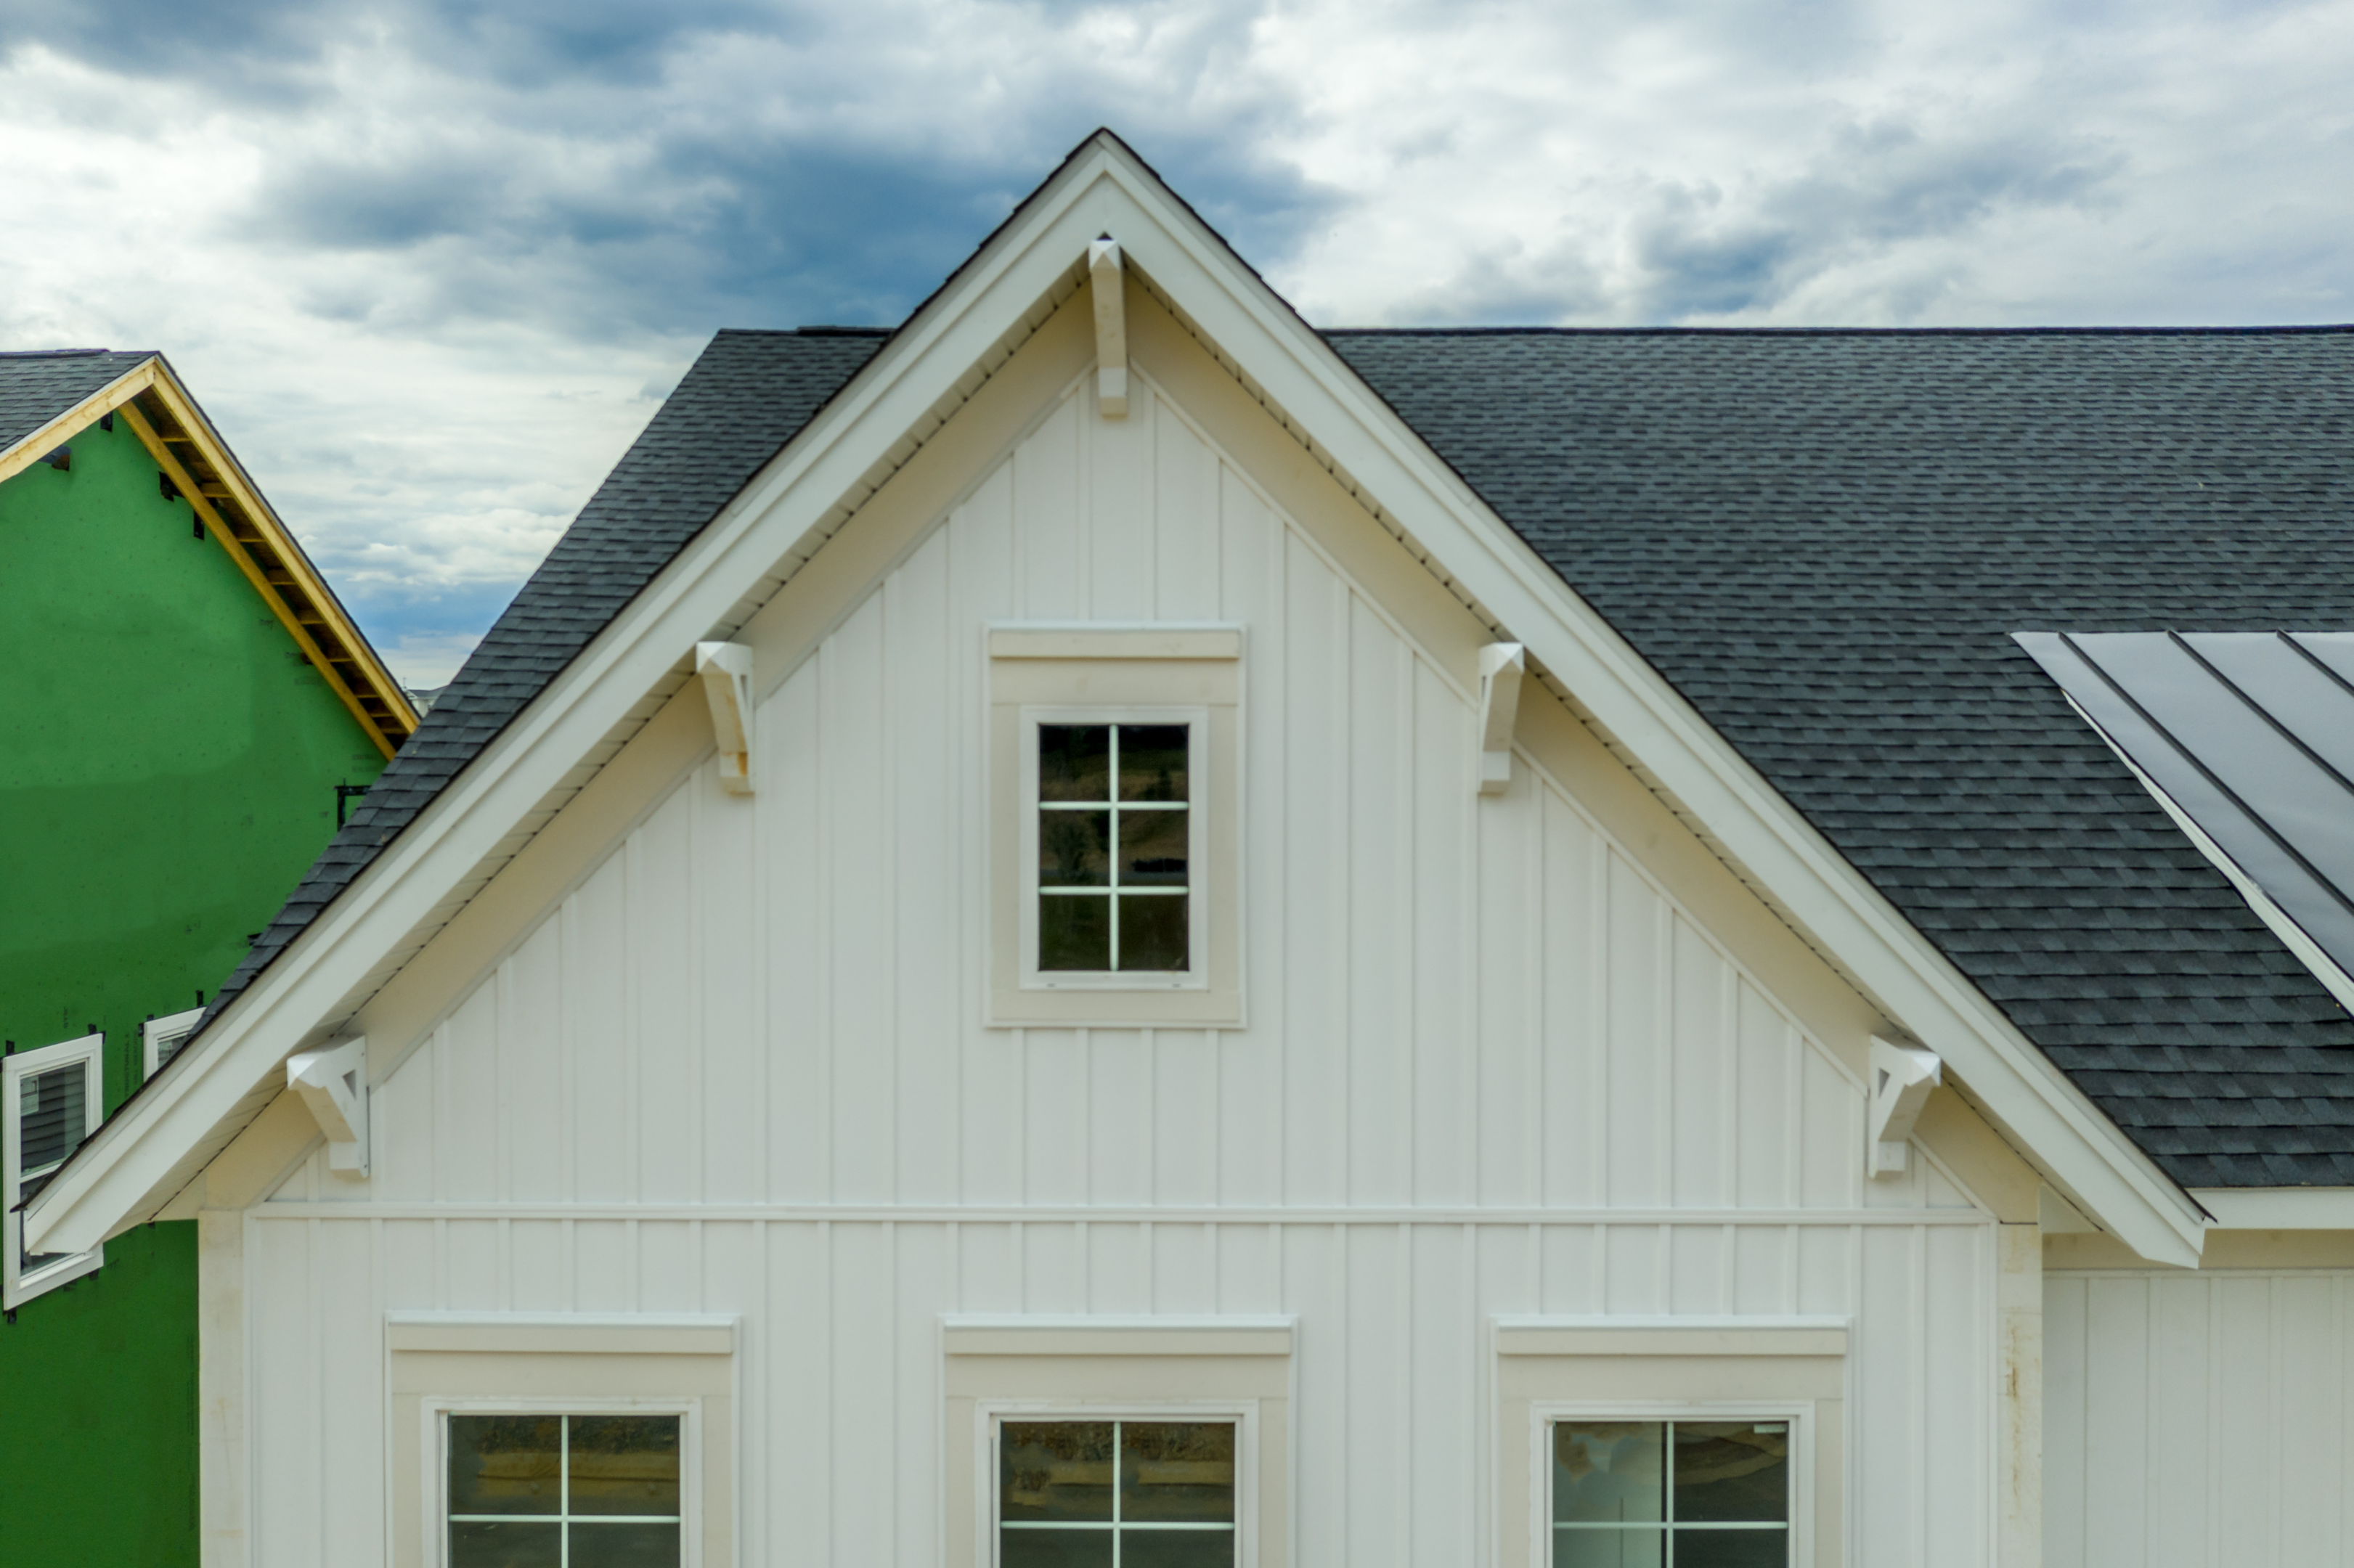
When planning your board and batten siding project, selecting the right materials is crucial for ensuring a successful installation and long-lasting results. Wood, vinyl, fiber cement, and metal are all viable options for board and batten siding, each with its own set of advantages and disadvantages. Let’s explore the characteristics of these materials and help you make an informed decision.
Your choice of material will impact not only the look and feel of your home, but also the durability and maintenance requirements of your siding. It’s essential to weigh the pros and cons of each option, considering factors such as cost, ease of installation, and resistance to the elements, before making a decision.
Wood Options
When it comes to wood siding for board and batten, cedar and cypress are popular choices due to their natural appearance and durability. Cedar is more economical but requires treatment for fire resistance and decay, while cypress is more robust and demands less treatment but comes at a higher cost. Regardless of the wood species you choose, applying a stain or paint is recommended to protect the wood from moisture and decay.
When installing wood siding, it’s crucial to use appropriate fasteners, such as exterior-grade ring-shank or spiral shank style nails, like galvanized siding nails, to ensure a secure fit. Additionally, using an exterior grade screw compatible with the wood species, such as stainless steel or coated varieties, is recommended for attaching horizontal furring strips and other components of the siding. To attach horizontal furring strips properly, follow the manufacturer’s guidelines and ensure they are level and evenly spaced.
Vinyl Advantages and Disadvantages
Vinyl siding is another popular choice for homeowners due to its cost-effectiveness, simple installation process, and minimal upkeep requirements. Vinyl siding can last up to 40 years and is available in various styles, allowing for versatility and the potential to imitate the appearance of more expensive materials, such as wood.
However, there are some drawbacks to consider. Vinyl siding can be susceptible to dents and may fade over time, potentially reducing the home’s value. Additionally, some homeowners might find the appearance of vinyl less appealing than natural wood.
It’s essential to weigh the pros and cons of vinyl siding in comparison to other types of siding before making your decision.
Fiber Cement and Metal Alternatives
Looking for alternative materials for board and batten siding? Fiber cement and metal are both viable options, each with their own set of features. Fiber cement is a composite material composed of sand, cement, and wood cellulose, known for its durability and low-maintenance requirements. However, it can be more difficult to work with and may require specialized tools for cutting, resulting in increased costs.
On the other hand, metal siding offers durability and low-maintenance, but should be treated and regularly maintained, as certain metals may be prone to rust. Metal siding is also known for its fire resistance and customizability, with options like custom lengths and color-matched trim and hardware.
As with any siding material, it’s essential to consider the pros and cons before making a decision.
Essential Tools and Equipment
Before diving into your board and batten siding installation, it’s crucial to gather the necessary tools and equipment. Some essential items you’ll need include a circular saw or miter saw, tape measure, hammer or pneumatic nailer, carpenter’s square, staple gun, utility knife, chalk line, level, and siding tools.
In addition to these tools, you’ll also need materials such as boards, battens, lumber for skirt board, staples, moisture-resistant barrier, self-stick flashing, siding nails, metal flashing, lumber for spacer, caulk, wood strips (optional), paint (optional), and stain (optional). Having all of these items on hand will help ensure a smooth and efficient installation board process.
Preparing the Installation Area
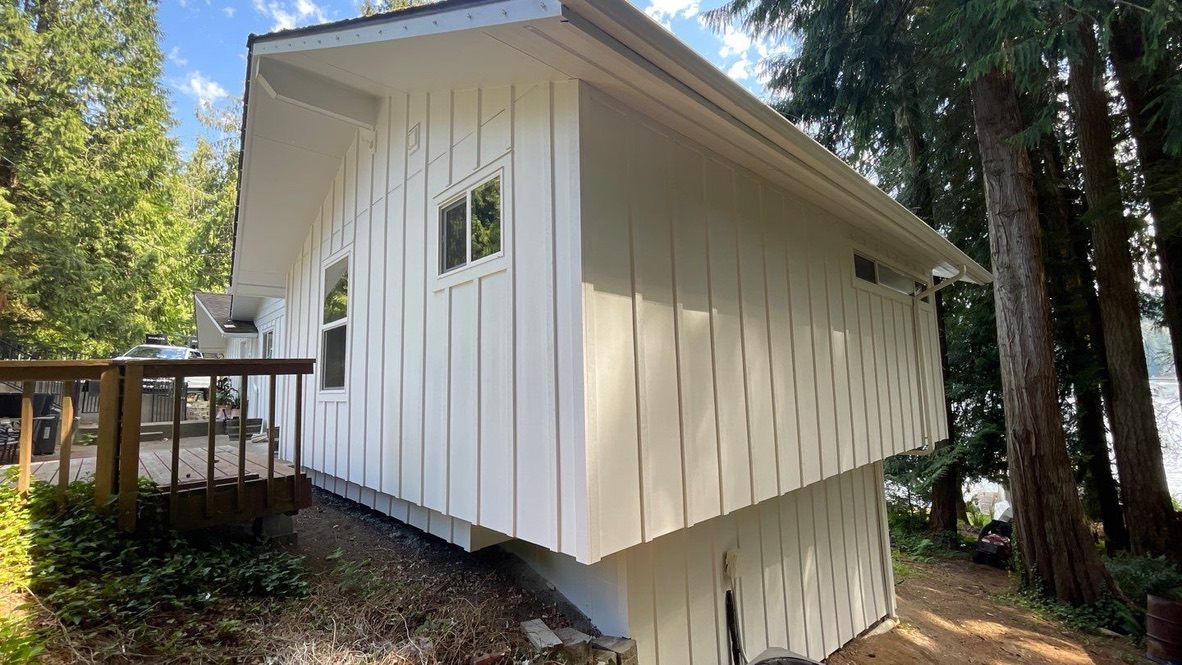
Before you begin installing your board and batten siding, it’s essential to properly prepare the installation area. Start by removing any existing siding from the exterior and scraping any leftover materials, such as caulking, to ensure the boards can be flush against the house. If your house does not have the required shear protection by sheathing of a specified thickness placed on a frame prior to siding, consult your local building codes to ensure compliance.
Once the old siding has been removed and any necessary repairs have been made, it’s time to apply a weather-resistant barrier, such as house wrap or insulation, to prevent water or air infiltration. This step is crucial in protecting your home from the elements and ensuring the longevity of your new siding.
Installing the Boards
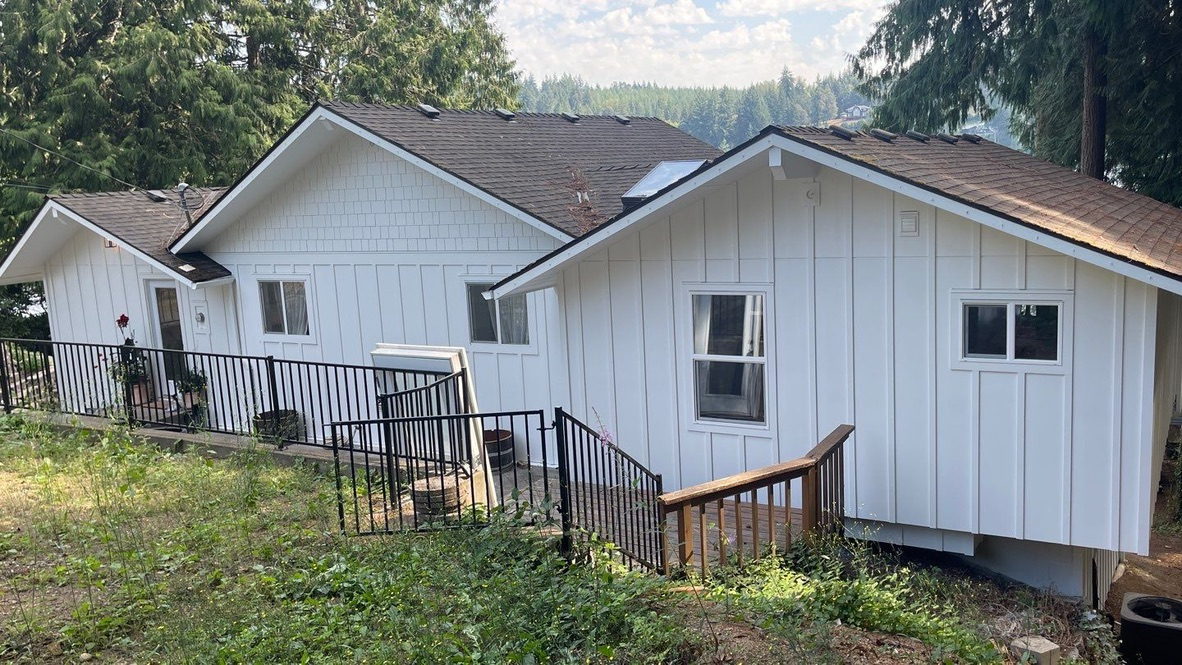
With the installation area prepared, it’s time to start installing the wide boards for your board and batten siding. The primary step is to install the wide vertical boards spaced approximately one board width apart. This process, known as installing board and batten, will form the foundation of your siding, providing both aesthetic appeal and structural support.
It’s vital to accurately measure and cut each board to fit the designated space, ensuring a proper fit and minimizing gaps between boards. Be sure to use a level and secure the boards to the wall with appropriate fasteners, such as siding nails or coarse thread screws, to create a weather-resistant barrier.
Measuring and Cutting Boards
To achieve a professional and polished look, it’s crucial to measure and cut your boards accurately. Use a tape measure to determine the width of the wall and calculate the number of boards required by dividing the wall width by the board width. When cutting the boards, measure and cut each one to fit above and below the windows for a seamless appearance.
Keep in mind that trim boards may need to be cut at an angle to accommodate rooflines or other architectural features. Properly measuring and cutting your boards will ensure a snug fit and minimize the need for excessive caulking or fillers.
Securing Boards to the Wall
Once your boards are measured and cut, it’s time to secure them to the wall using a galvanized siding nails board. Use appropriate fasteners, such as exterior-grade ring-shank or spiral shank style nails, like galvanized siding nails, to ensure a secure fit. Fasteners should be placed at the center of the siding boards and spaced no more than 24 inches apart, whenever possible into studs.
Be sure to check that the boards are level and plumb as you secure them to the wall, making any necessary adjustments to ensure a professional and polished appearance. Properly securing your boards to the wall is essential in creating a weather-resistant barrier and ensuring the longevity of your siding.
Installing the Battens
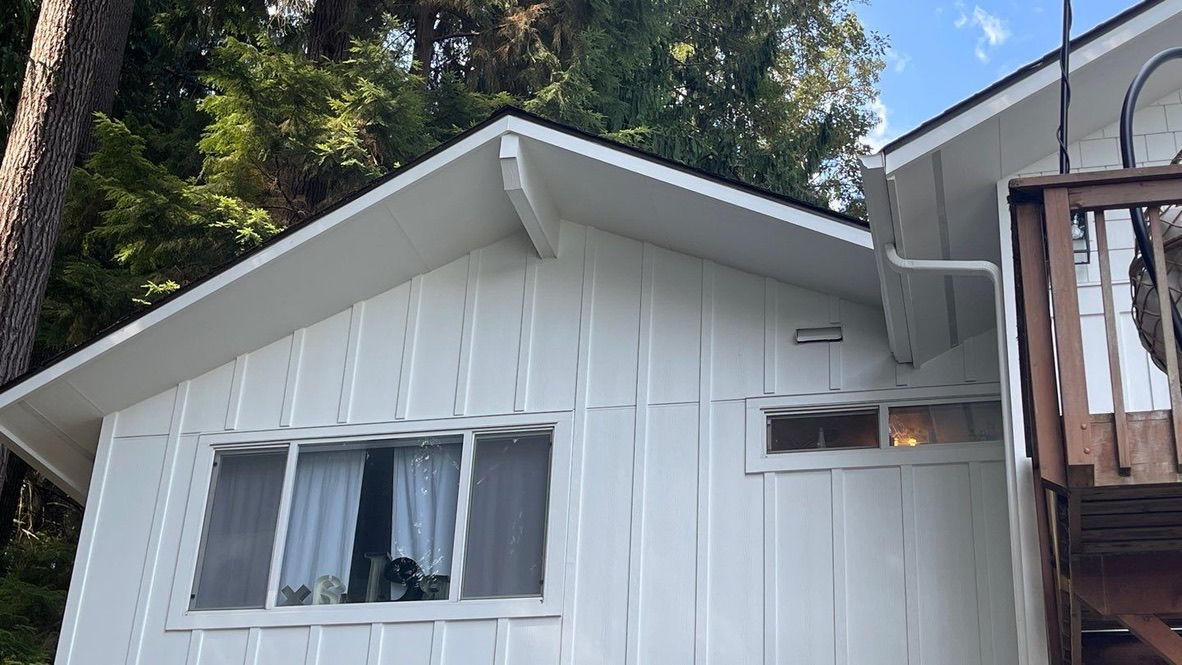
With your wide boards in place, it’s time to install the narrow boards over the seams between the boards. These battens not only add visual interest to your siding, but also create a weather-resistant barrier by covering the seams where water or air could potentially infiltrate.
When installing the battens, it’s essential to measure and cut each batten to the appropriate length, ensuring a snug fit over the seams between the boards. Proper positioning and fastening of the battens are crucial to the overall success of your board and batten siding installation.
Cutting and Positioning Battens
To cut and position your battens correctly, measure each space accordingly and cut each batten to fit the designated area. It’s essential to ensure that the battens overlap the edges of the larger boards by a minimum of 1/2 inch on either side.
When positioning the battens, make sure they are evenly spaced, about 10-12 inches apart. Properly cutting and positioning your battens will not only enhance the visual appeal of your siding, but also create a tight seal that prevents water infiltration and protects your home from the elements.
Fastening Battens to the Wall
To securely fasten your battens to the wall, it’s recommended to use galvanized, coated, or stainless wood or deck screws that are compatible with your siding material. Dark colored screws are less visible after staining and provide a more polished look. Fasteners should be centered between the boards, without passing through the boards themselves.
Ensure that each batten is plumb and firmly affixed to the wall as you secure them in place during the batten installation process. Properly fastening your battens ensures a secure and weather-resistant barrier, protecting your home and extending the lifespan of your siding.
Finishing Touches and Maintenance
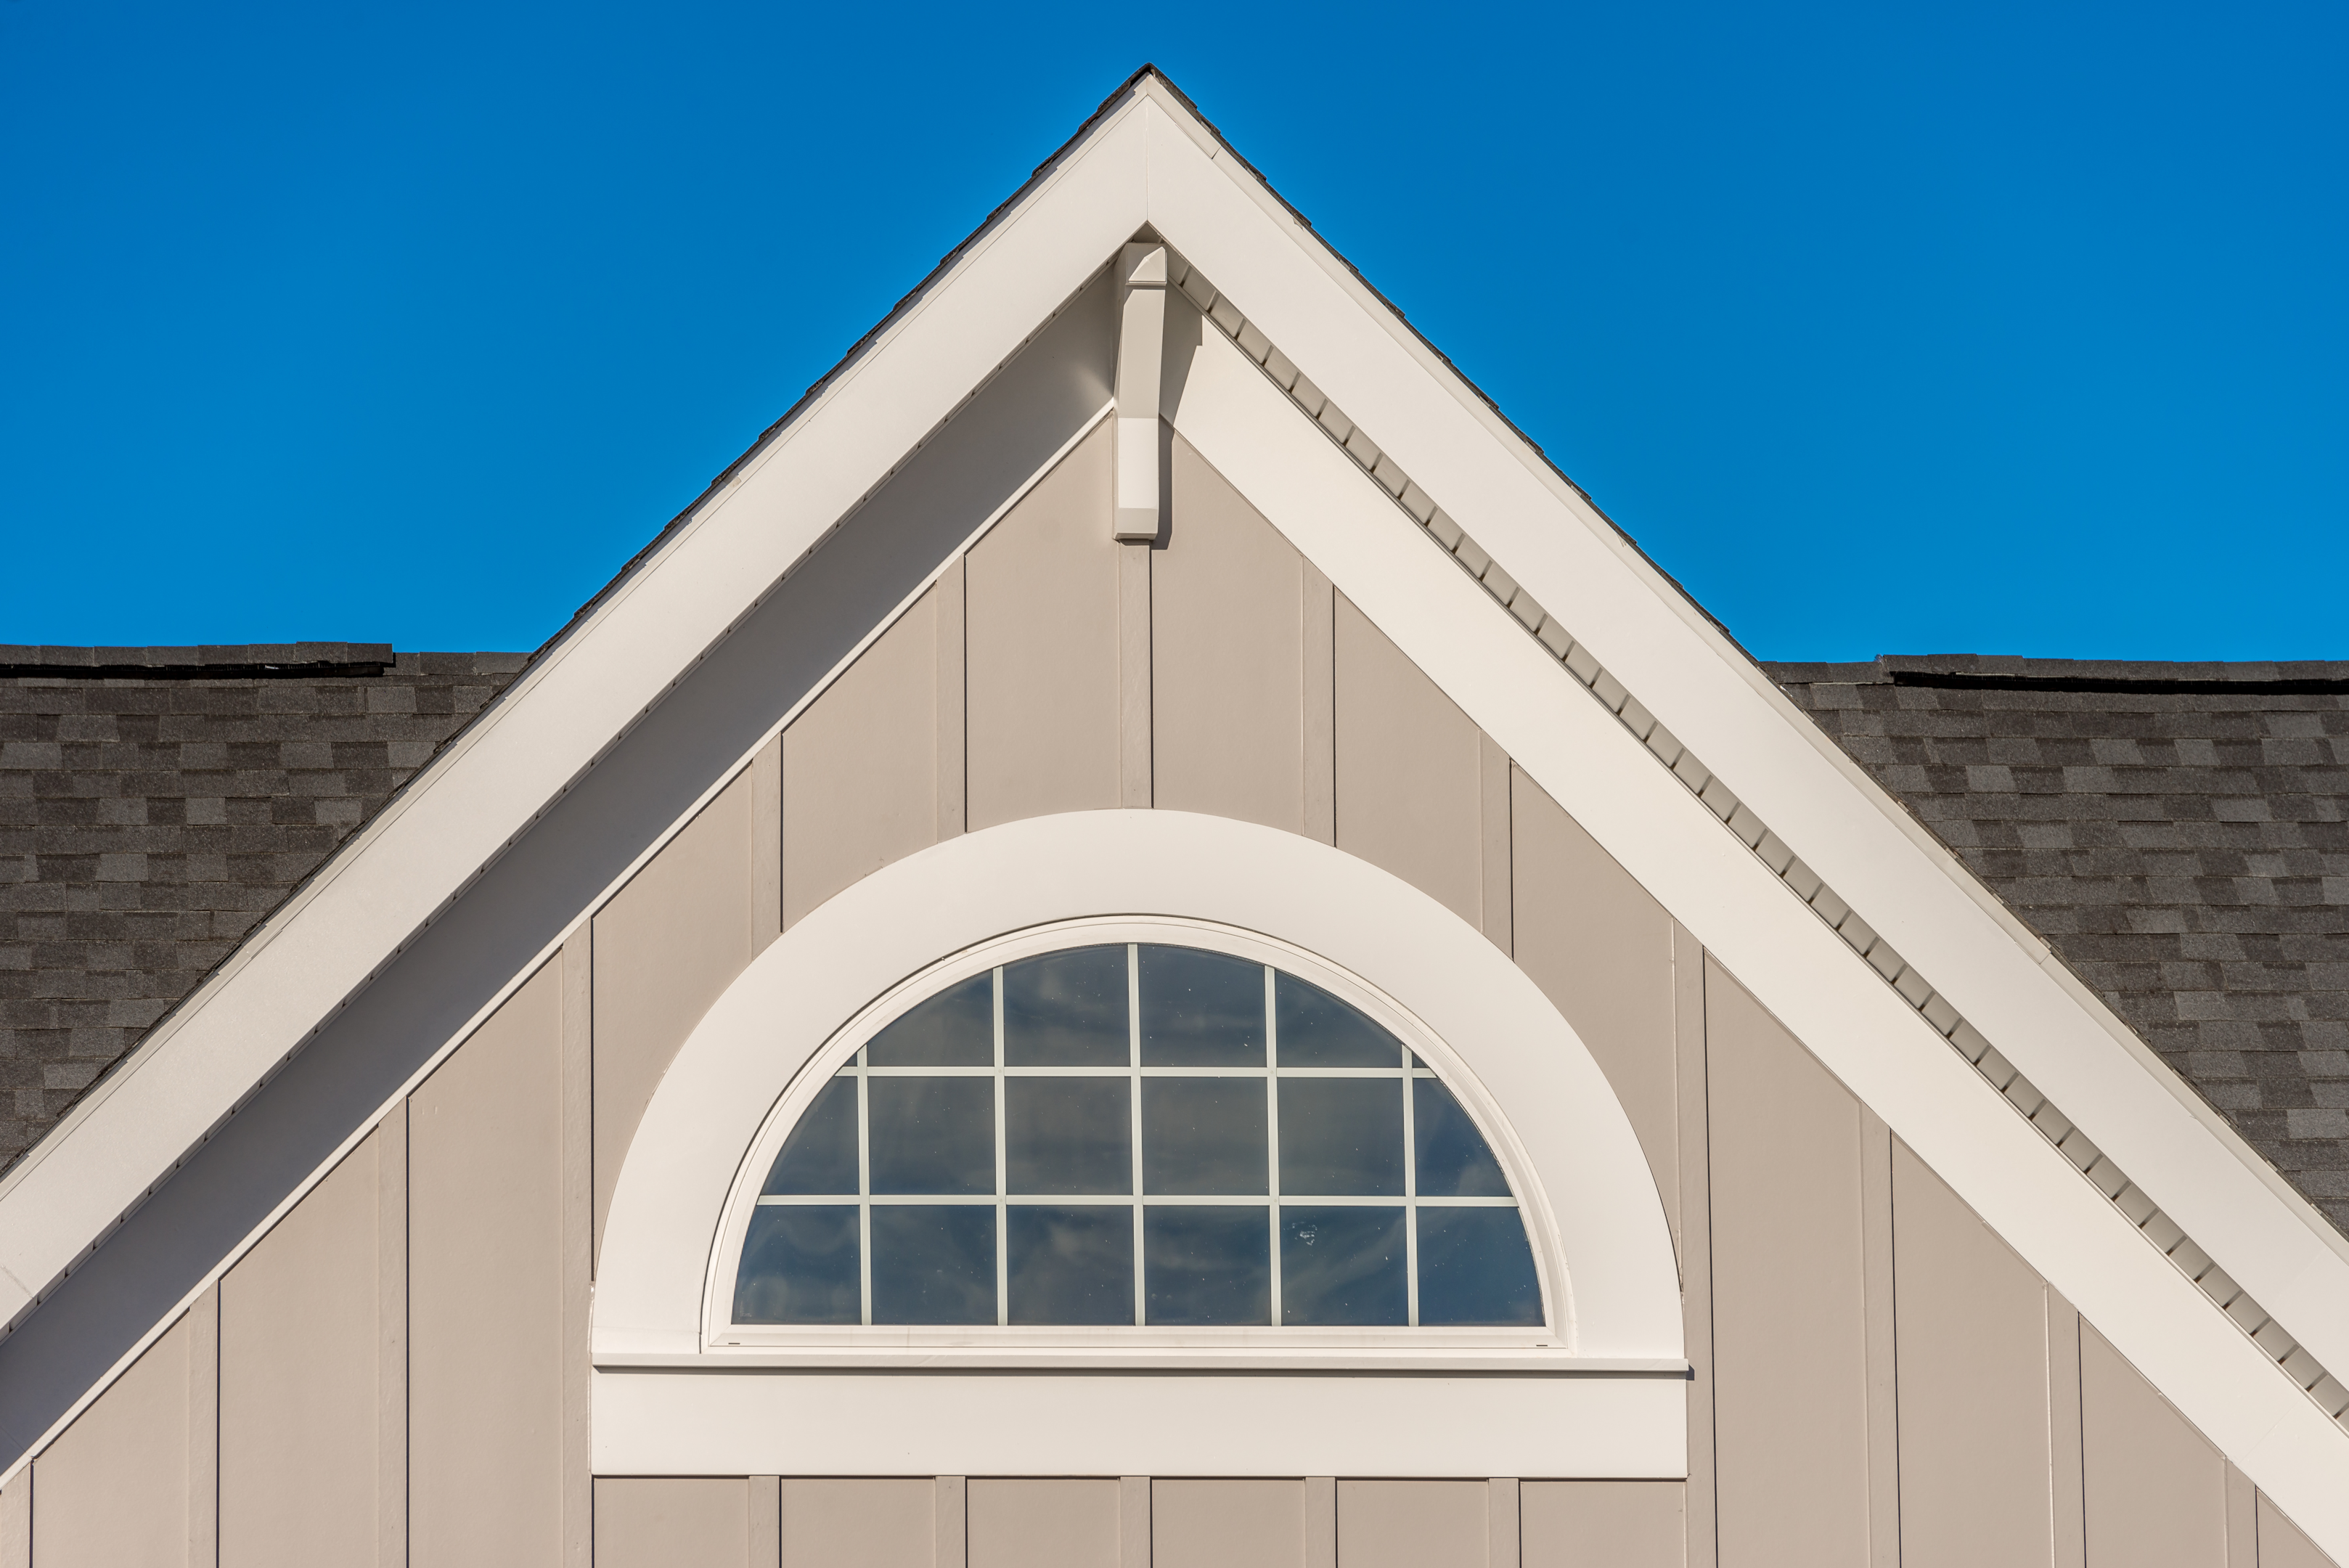
With your board and batten siding installed, it’s time to add the finishing touches and ensure the longevity of your new siding. Sealing and painting your siding is crucial in protecting it from the elements and maintaining its appearance over time. Additionally, regular maintenance is essential to keep your siding looking its best and preventing damage from exposure to the elements.
In this section, we’ll cover the steps for sealing and painting your siding, as well as provide tips on maintaining your board and batten siding for long-lasting durability and visual appeal.
Sealing and Painting
To seal and paint your board and batten siding, start by cleaning the surface using a pressure washer and employing a wire brush to remove any detached paint or debris. Apply a paintable caulk between the wall and the edge of the board, using a paintable latex exterior caulk for best results.
When selecting paint for your siding, choose a high-quality exterior paint specifically designed for the type of siding material you’ve installed. This will ensure optimal adhesion and protection from the elements. Apply the paint according to the manufacturer’s instructions, and be sure to cover all exposed surfaces for maximum protection.
Maintenance Tips
To keep your board and batten siding in top condition, it’s essential to conduct regular inspections for any signs of deterioration, such as cracks, warping, or peeling paint. If you find any damaged areas, replace or repair them promptly to prevent further damage.
In addition to regular inspections, clean your siding at least once a week to remove dirt, debris, and mildew. This will help maintain the appearance and integrity of your siding over time. By following these maintenance tips, you can ensure the longevity and beauty of your board and batten siding for years to come.
Common Mistakes to Avoid
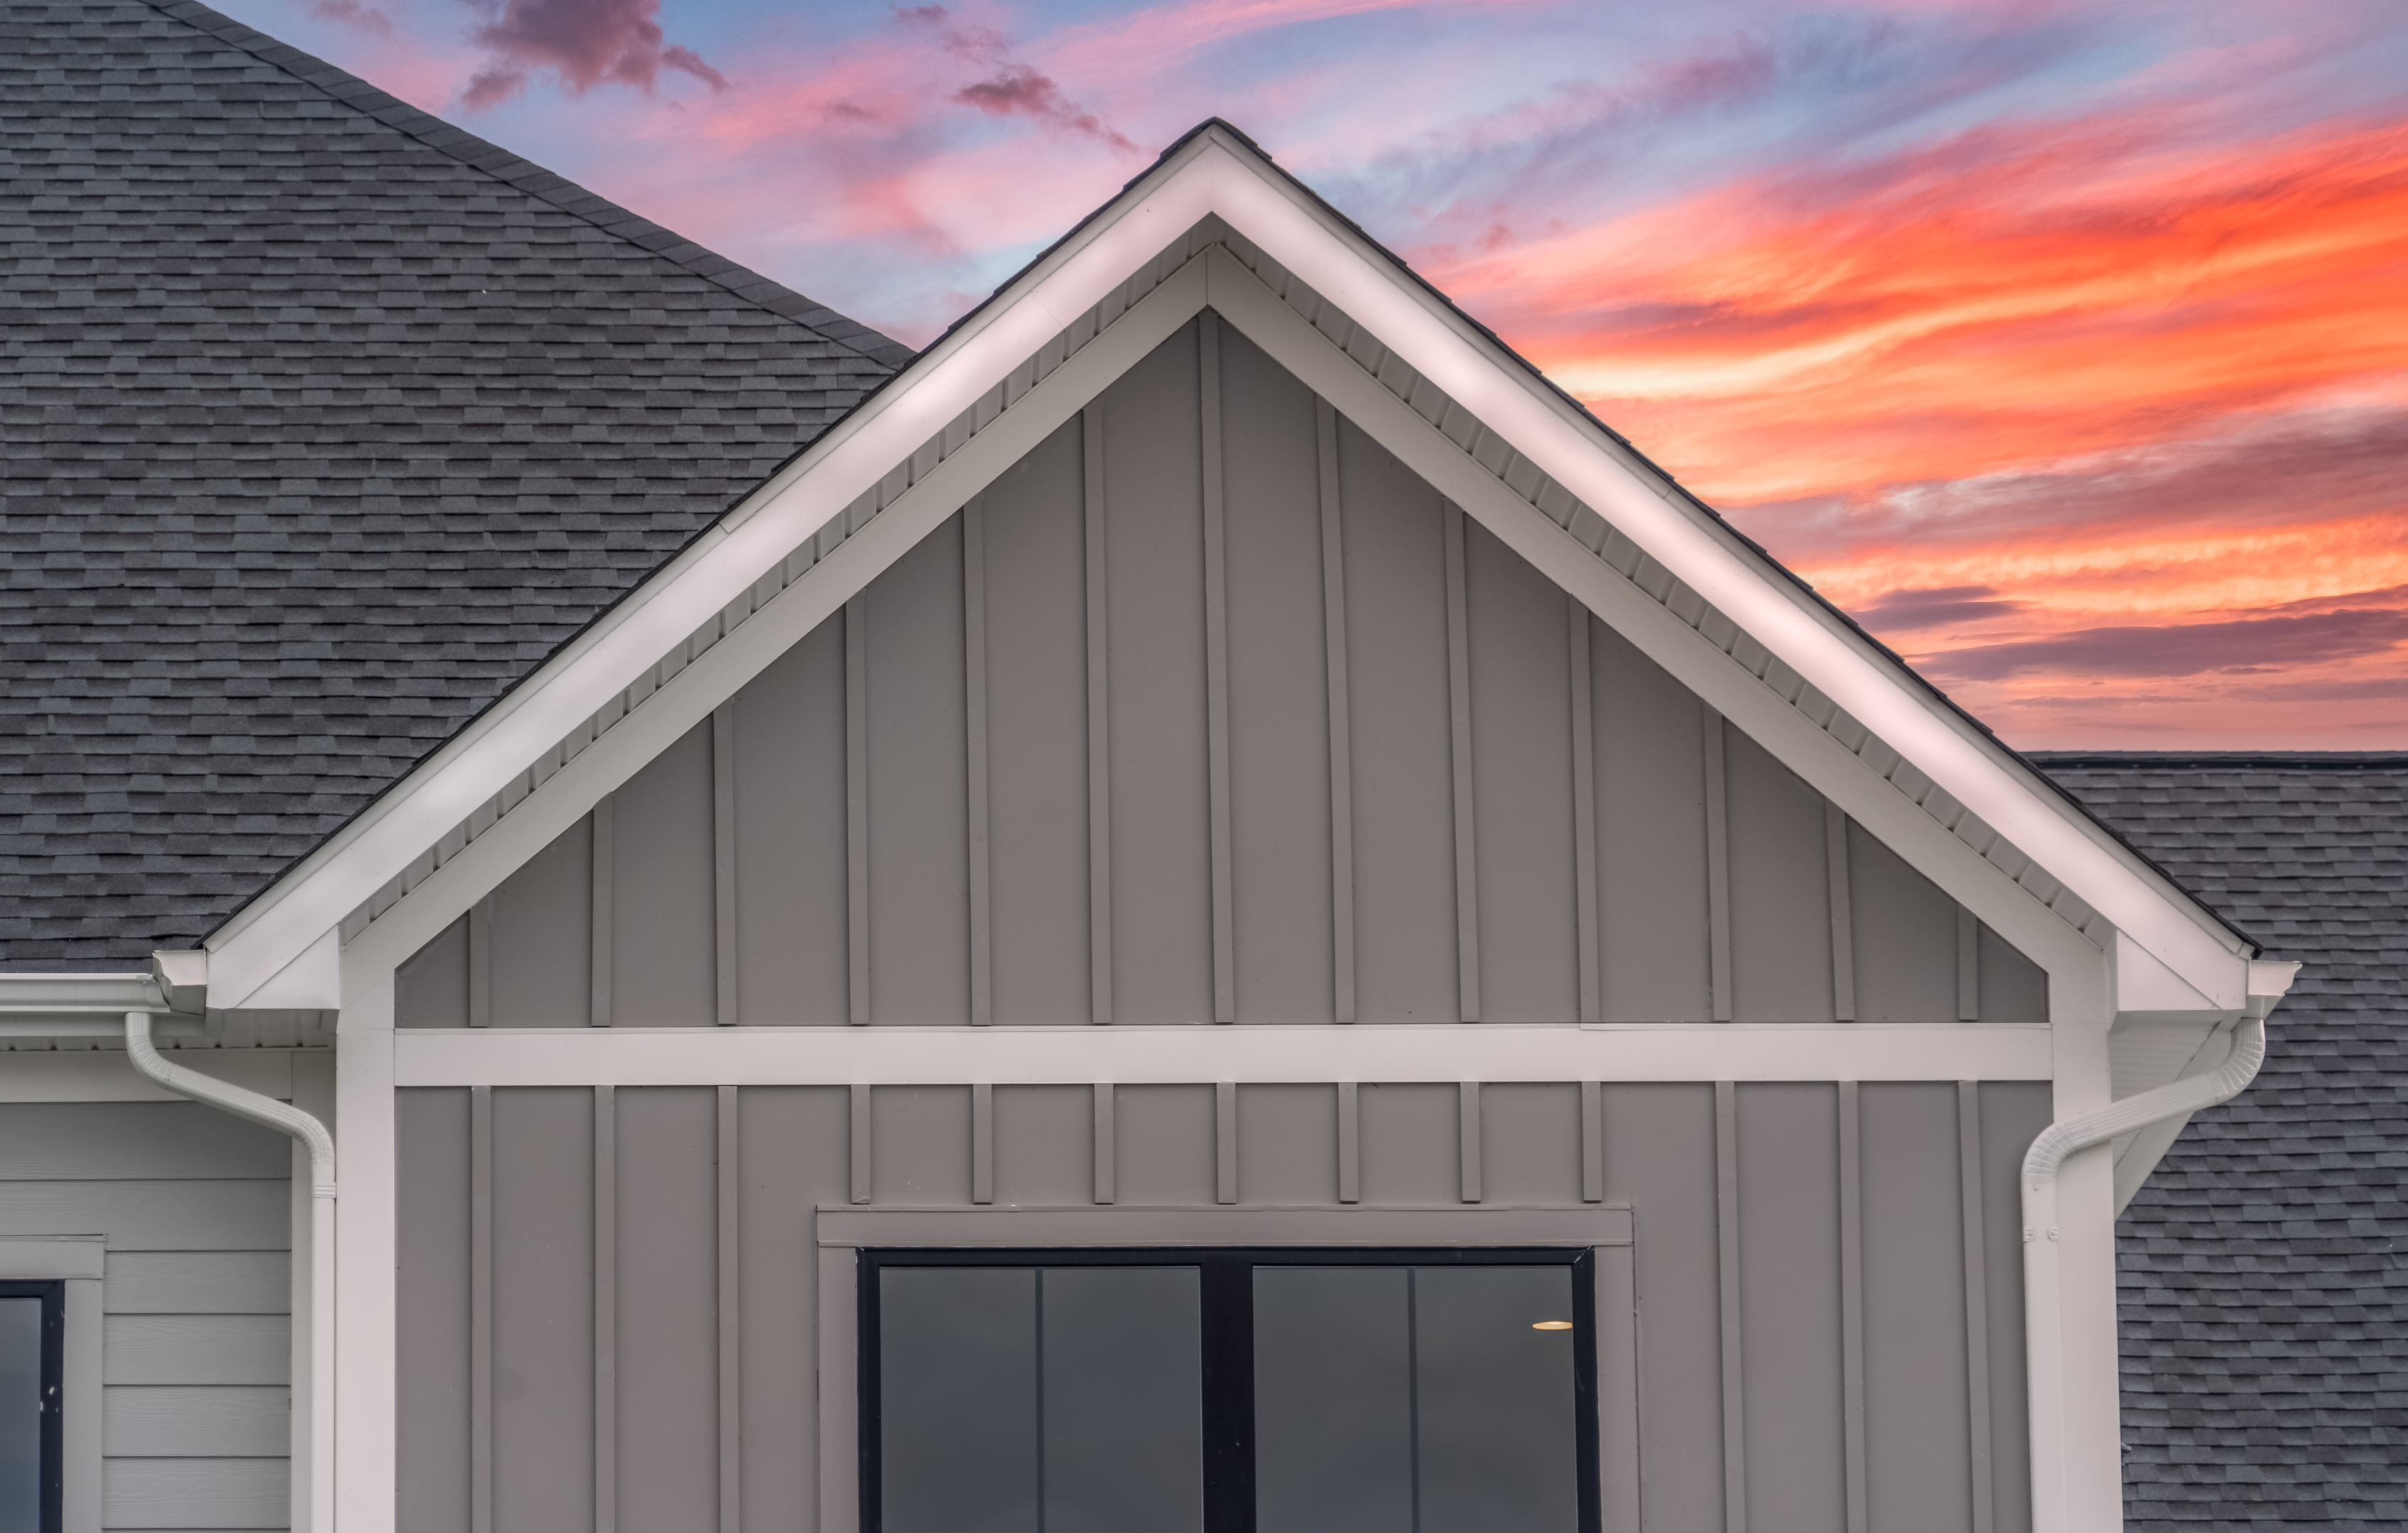
As with any DIY project, there are common mistakes that can occur during board and batten installation. By being aware of these potential pitfalls, you can take steps to avoid them and ensure a successful installation of board and batten siding.
Some common errors to avoid include inadequate flashing and caulking, cutting boards too short and relying on caulking to fill the gap, and not allowing for sufficient space for expansion and contraction of the wood. Proper surface preparation and accurate measurement of each board are essential in avoiding these mistakes and achieving a professional-looking result.
Summary
In conclusion, installing board and batten siding can be a rewarding and cost-effective way to transform the exterior of your home. By carefully selecting the right materials, preparing the installation area, and following our step-by-step guide, you can achieve a professional and durable result.
Remember to take the time to properly maintain your siding, conducting regular inspections and addressing any issues promptly. With the right care and attention, your board and batten siding will provide long-lasting beauty and protection for your home.
Frequently Asked Questions
What do you put behind board and batten siding?
When installing board and batten siding, use rot-resistant materials such as wood, composite siding, fiber cement, vinyl, or aluminum. You’ll also need underlayment, construction adhesive, and caulk in order to complete the job.
With a helping hand, approximately 800 square feet of siding can be installed in one day.
Do you need furring strips for board and batten siding?
Furring strips are often needed to provide a nailing surface when installing board-and-batten siding. This is especially important if the sheathing is not solid plywood or OSB.
Horizontal furring strips should be attached around windows and doors, and every 16 inches across the wall.
Do you nail or screw board and batten?
Nailing is recommended when using a good solid oak stringer, while deck screws are best for softwood or less than 1-inch-thick hardwood backing. Thus, it depends on the material behind the board-and-batt siding whether to use nails or screws.
What materials are commonly used for board and batten siding?
Board and batten siding can be made from wood, vinyl, fiber cement, or metal, making it an adaptable material for a variety of applications.
It is a popular choice for both residential and commercial buildings, as it is durable and easy to install. It can also be used to create a unique look for a home or business.
What tools and equipment are needed for board and batten siding installation?
Essential tools for board and batten siding installation include a circular saw or miter saw, tape measure, hammer or pneumatic nailer, carpenter’s square, staple gun, utility knife, chalk line, level, and siding tools.
These tools are necessary for accurate measurements, cutting, and nailing. A circular saw or miter saw is used to cut the boards to the desired length. A tape measure is used to measure the length of the boards. A hammer or pneumatic nailer is used to secure the boards to the wall. A carpenter’s square is a carpenter’s square.
